


Running Unreal Engine with DirectX 12 and Shader Model 6 on Windows with an NVIDIA Graphics Card
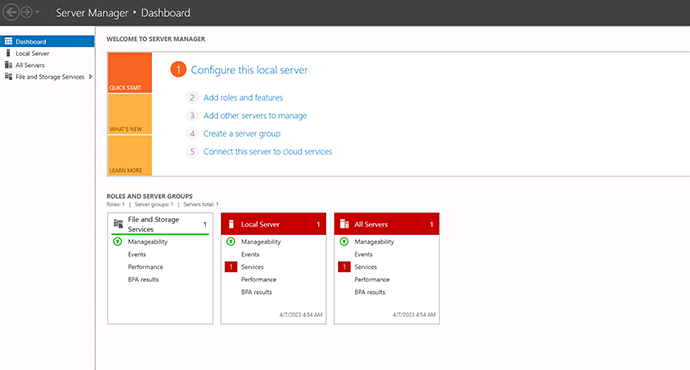
- Connect to the server using your
login/password and IP with mstsc.exe (remote desktop). You will then see the Dashboard:
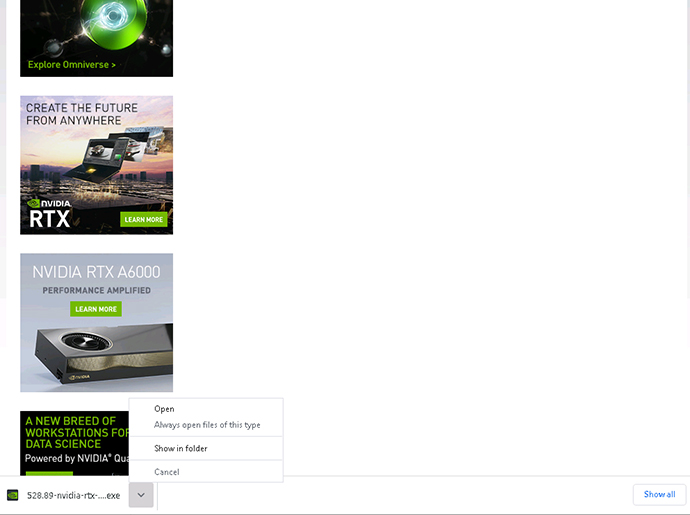
Choose the latest NVIDIA driver which suits your GPU card type (https://www.nvidia.com/download/index.aspx )
Click ‘Download’.
Open the file once it has been downloaded:
Click ‘Agree and Continue’.

Select the correct driver installation option (Express or Custom).
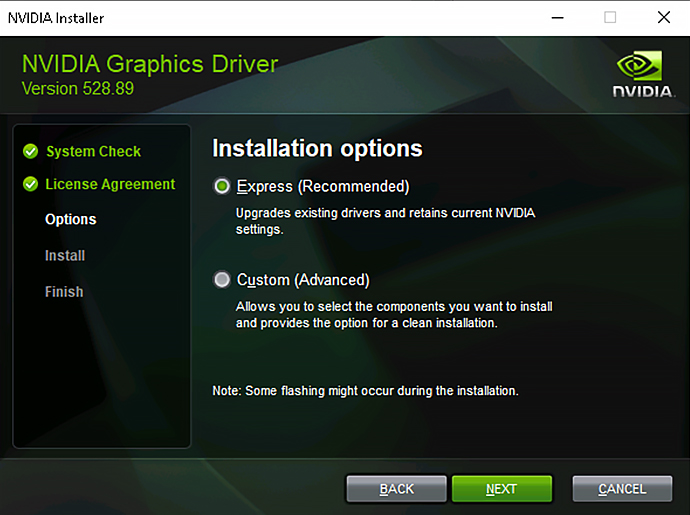
Click ‘Close’ when the installation has completed.
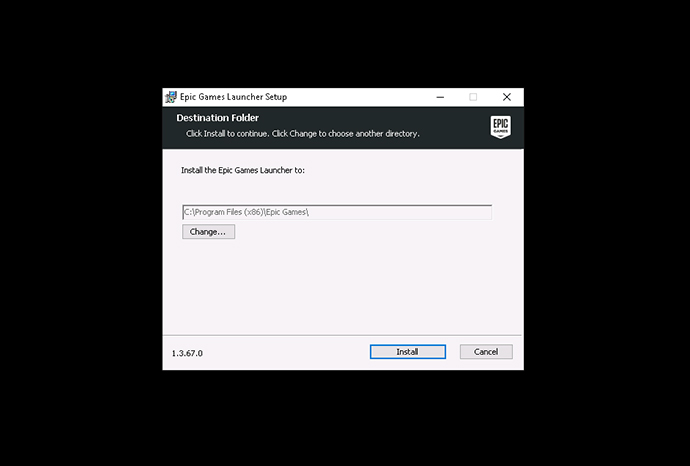
Install Unreal Engine (https://www.unrealengine.com/en-US/download)
Click ‘Download’.

Install Epic Game Launcher.
Wait for it to install. Run it and sign in with your preferred method.
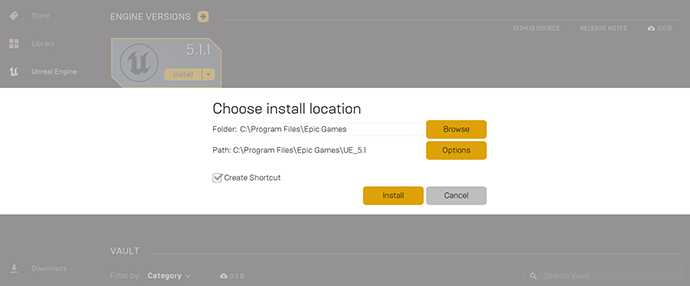
On the Unreal Engine tab, click ‘Install Engine’.

Select the appropriate version and click ‘Install’.
Now you can select or create a new project
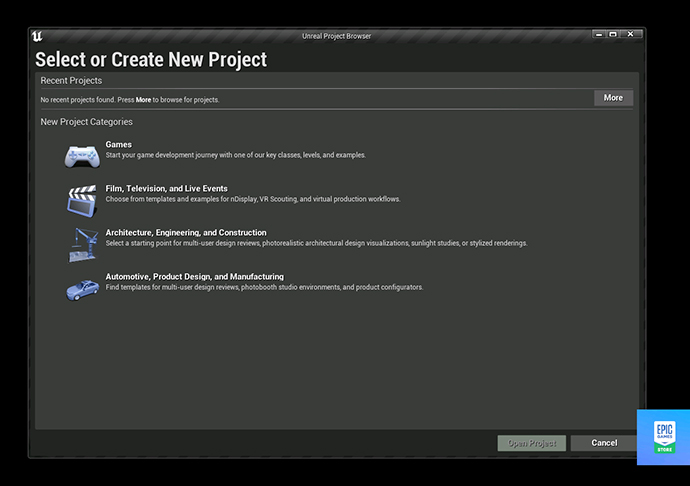
We will make a new project. Wait for the project and its features to be installed.
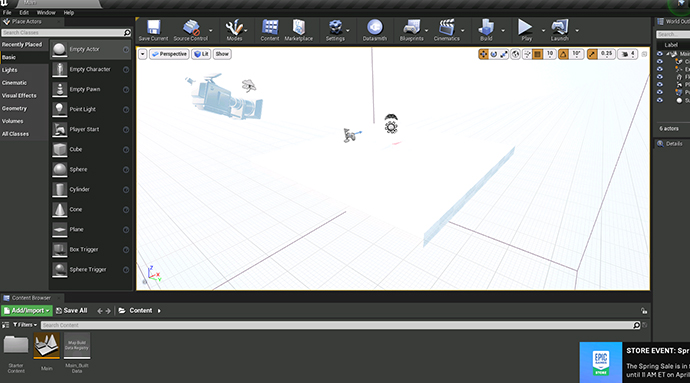
The working environment is now ready.
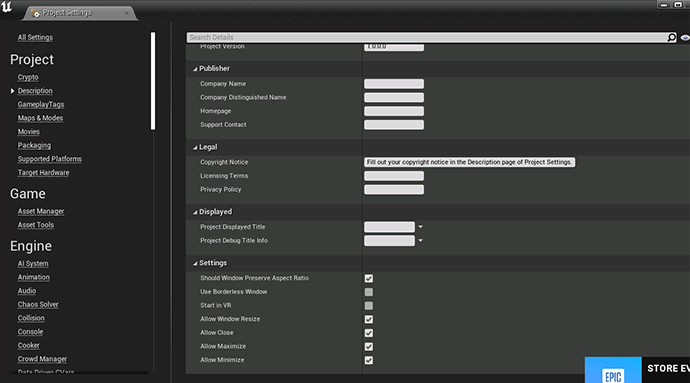
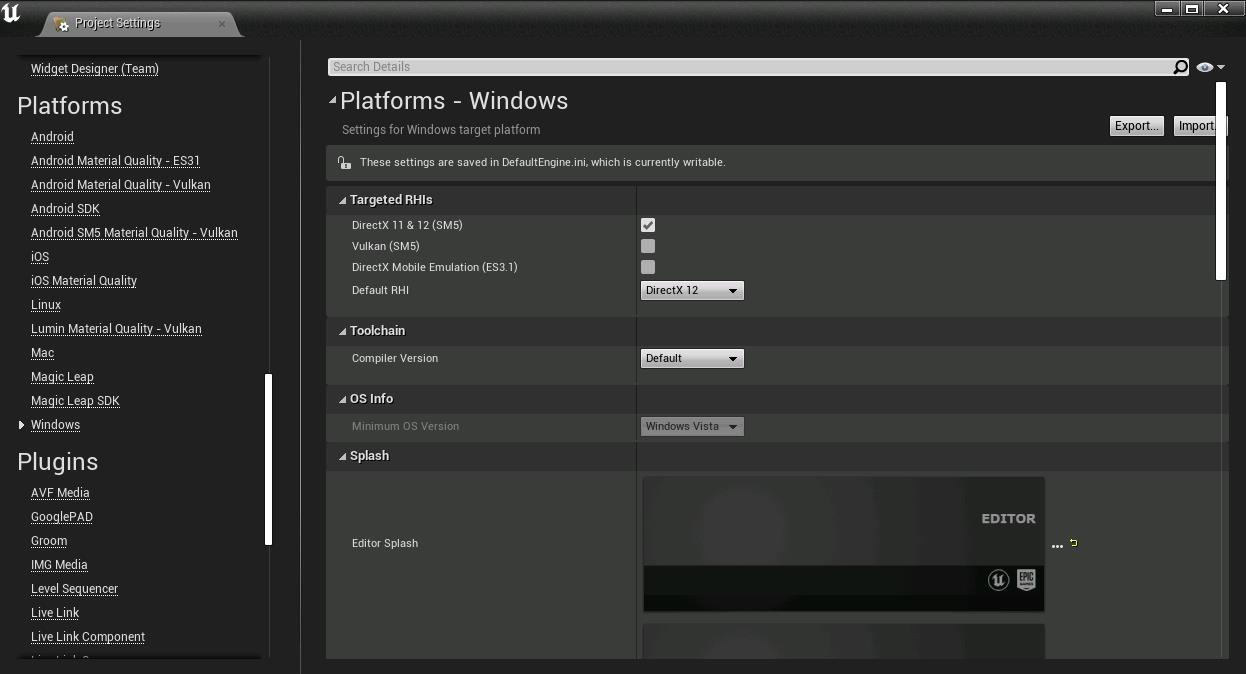
Go to Project Settings.
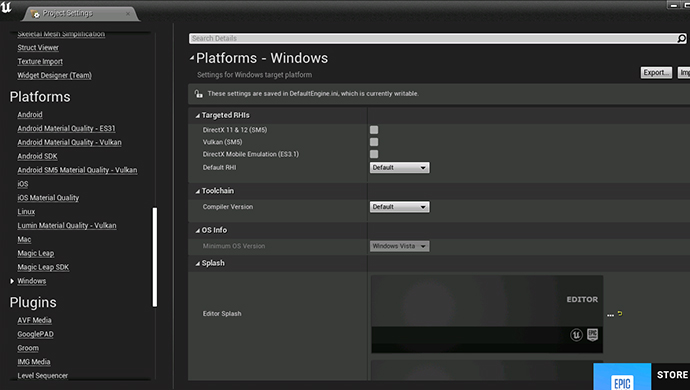
Go to Platforms – Windows. Select Default RHI as DirectX 12
-
Now restart Editor.
We will now see how to enable Shader Model 6
-
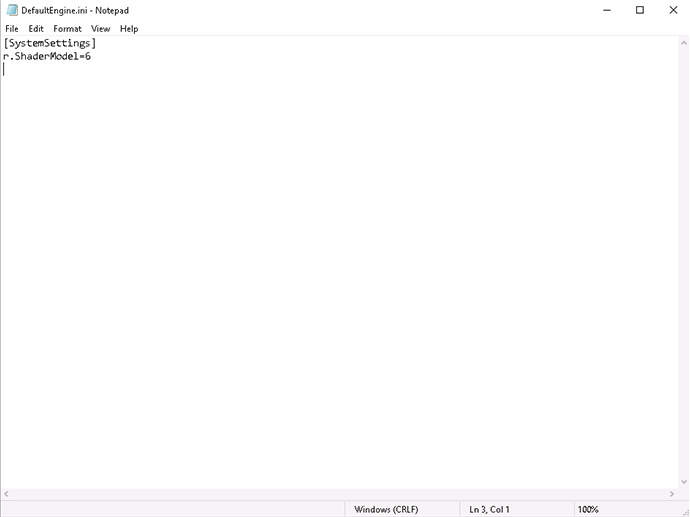
In the root’s folder with your project (Documents\Unreal Projects\MyProject) create a file with name DefaultEngine.ini.
Open this file and add strings:
r.ShaderModel=6
[SystemSettings]Save the file and restart Editor.
Now you can use Shader Model 6 in your working environment.
How to enable the path tracing for your project.
- Go
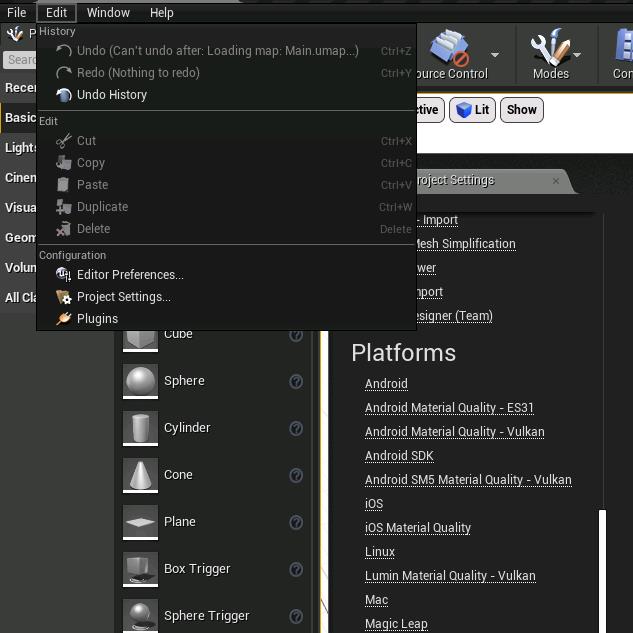
to Edit – Project Settings from the Main Menu.
- Go
to Platforms – Windows. Enable DirectX 12 as a Default RHI:
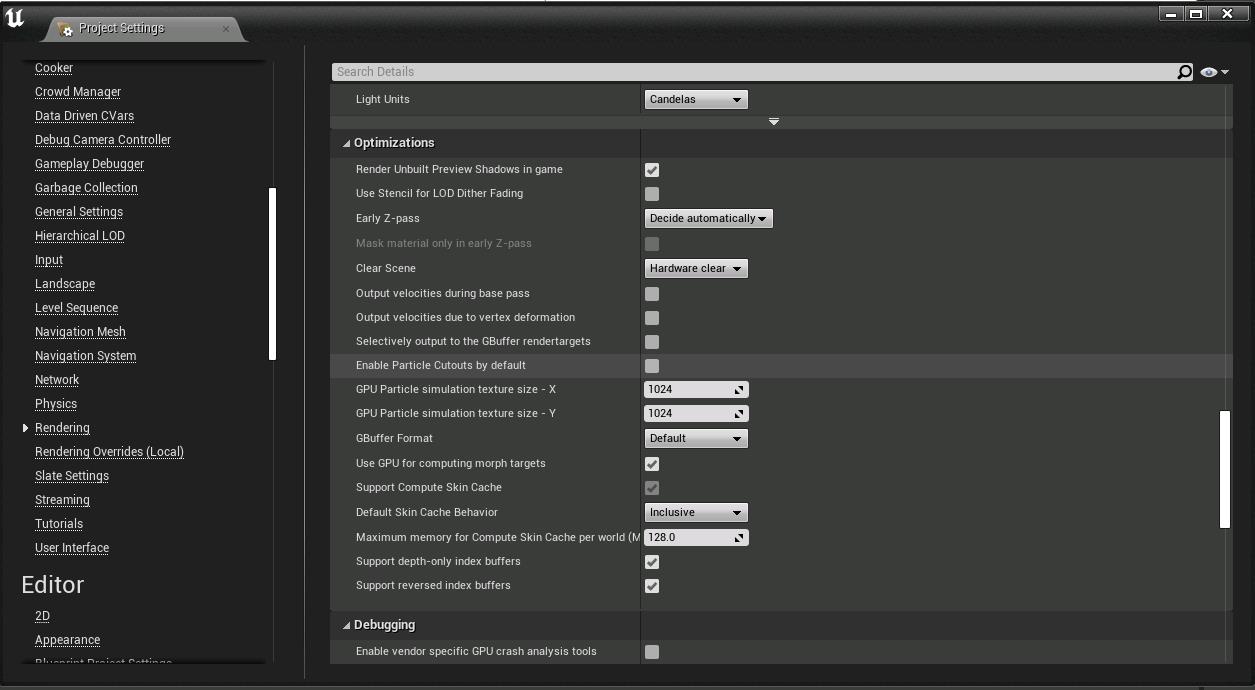
- Go
to Engine – Rendering and Enable the option Ray Tracing.
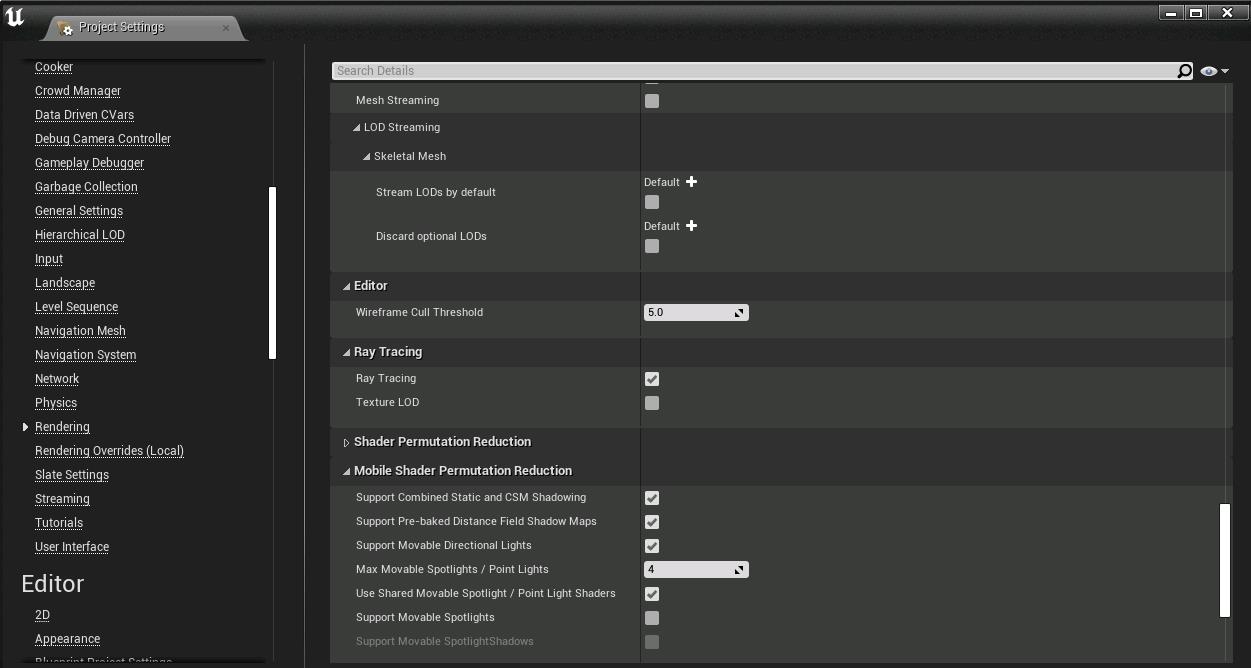
- Enable
Support Compute Skin Cache in the Rendering – Optimizations:
- Restart the engine. Done!
Updated: 04.01.2026
Published: 17.04.2023