


Llama 3 using Hugging Face

On April 18, 2024, the newest major language model from MetaAI, Llama 3, was released. Two versions were presented to users: 8B and 70B. The first version contains more than 15K tokens and was trained on data valid until March 2023. The second, larger version was trained on data valid until December 2023.
Step 1. Prepare operating system
Update cache and packages
Let’s update the package cache and upgrade your operating system before you start setting up LLaMa 3. Please note that for this guide, we are using Ubuntu 22.04 LTS as the operating system:
sudo apt update && sudo apt -y upgradeAlso, we need to add Python Installer Packages (PIP), if it isn’t already present in the system:
sudo apt install python3-pipInstall Nvidia drivers
You can use the automated utility that is included in Ubuntu distributions by default:
sudo ubuntu-drivers autoinstallAlternatively, you can install Nvidia drivers manually. Don’t forget to reboot the server:
sudo shutdown -r nowStep 2. Get the model
Log in to Hugging Face using your username and password. Go to the page corresponding to the desired LLM version: Meta-Llama-3-8B or Meta-Llama-3-70B. At the time of publication of this article, access to the model is provided on an individual basis. Fill a short form and click the Submit button:
Request access from HF
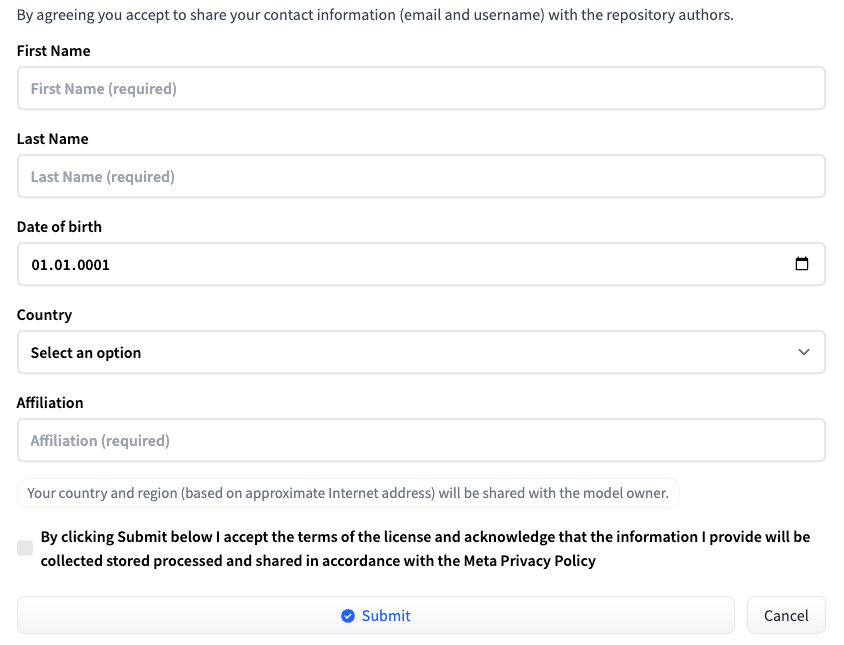
Then you will receive a message that your request has been submitted:
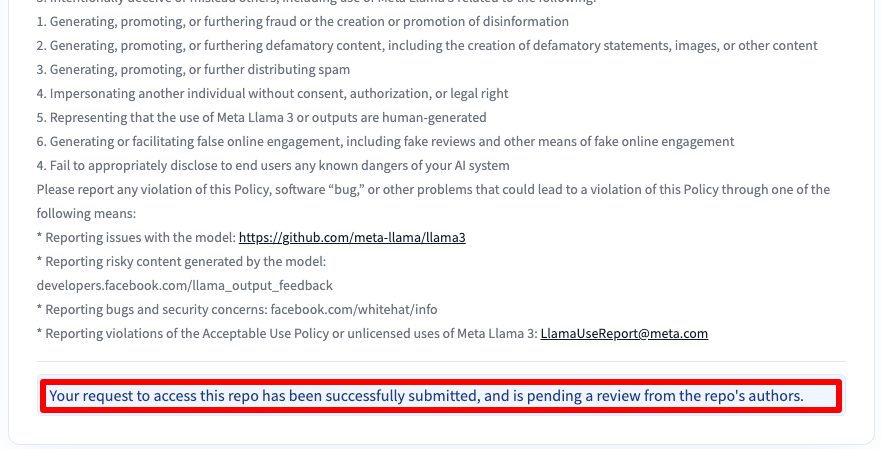
You will gain access after 30-40 minutes and will be notified about this via email.
Add SSH key to HF
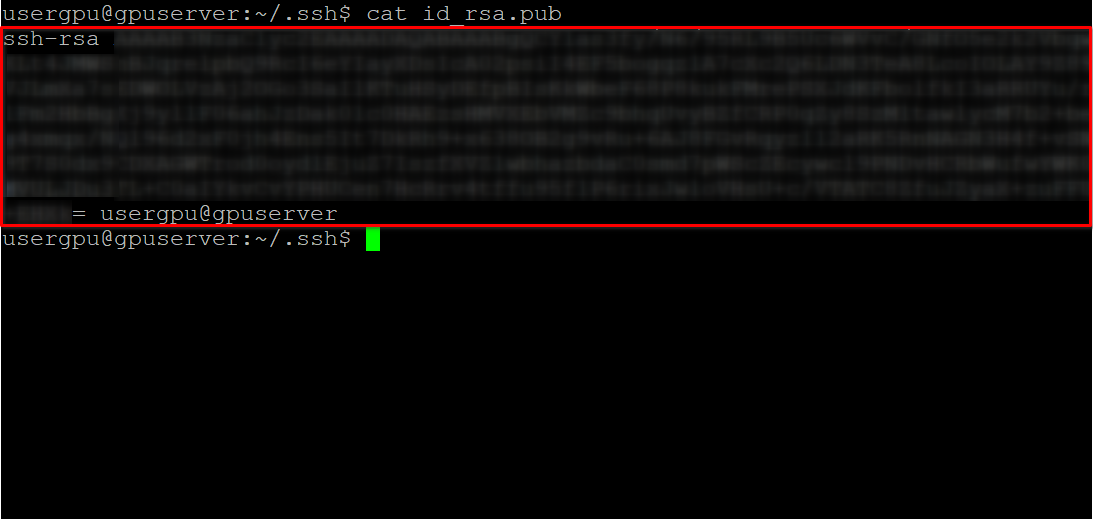
Generate and add an SSH-key that you can use in Hugging Face:
cd ~/.ssh && ssh-keygenWhen the keypair is generated, you can display the public key in the terminal emulator:
cat id_rsa.pubCopy all information starting from ssh-rsa and ending with usergpu@gpuserver as shown in the following screenshot:
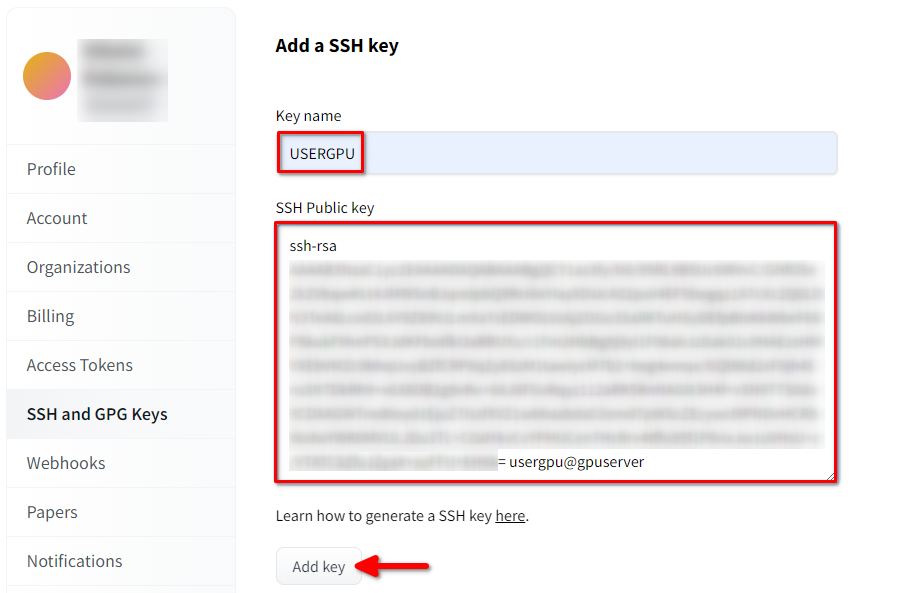
Open Hugging Face Profile settings. Then choose SSH and GPG Keys and click on the Add SSH Key button:
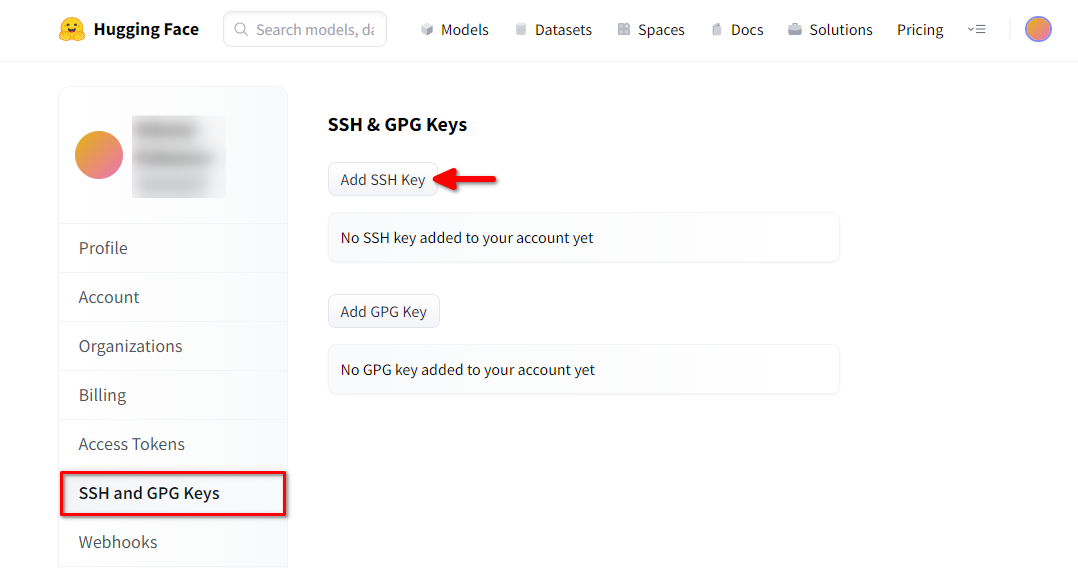
Fill in the Key name and paste the copied SSH Public key from the terminal. Save the key by pressing Add key:
Now, your HF-account is linked with the public SSH-key. The second part (private key) is stored on the server. The next step is to install a specific Git LFS (Large File Storage) extension, which is used for downloading large files such as neural network models. Open your home directory:
cd ~/Download and run the shell script. This script installs a new third-party repository with git-lfs:
curl -s https://packagecloud.io/install/repositories/github/git-lfs/script.deb.sh | sudo bashNow, you can install it using the standard package manager:
sudo apt-get install git-lfsLet’s configure git to use our HF nickname:
git config --global user.name "John"And linked to the HF email account:
git config --global user.email "john.doe@example.com"Download the model
Open the target directory:
cd /mnt/fastdiskAnd start downloading the repository. For this example we chose 8B version:
git clone git@hf.co:meta-llama/Meta-Llama-3-8BThis process takes up to 5 minutes.You can monitor this by executing the following command in another SSH-console:
watch -n 0.5 df -hHere, you’ll see how the free disc space on the mounted disc is reduced, ensuring that the download is progressing and the data is being saved. The status will refresh every half-second. To manually stop viewing, press the Ctrl + C shortcut.
Alternatively, you can install btop and monitor the process using this utility:
sudo apt -y install btop && btop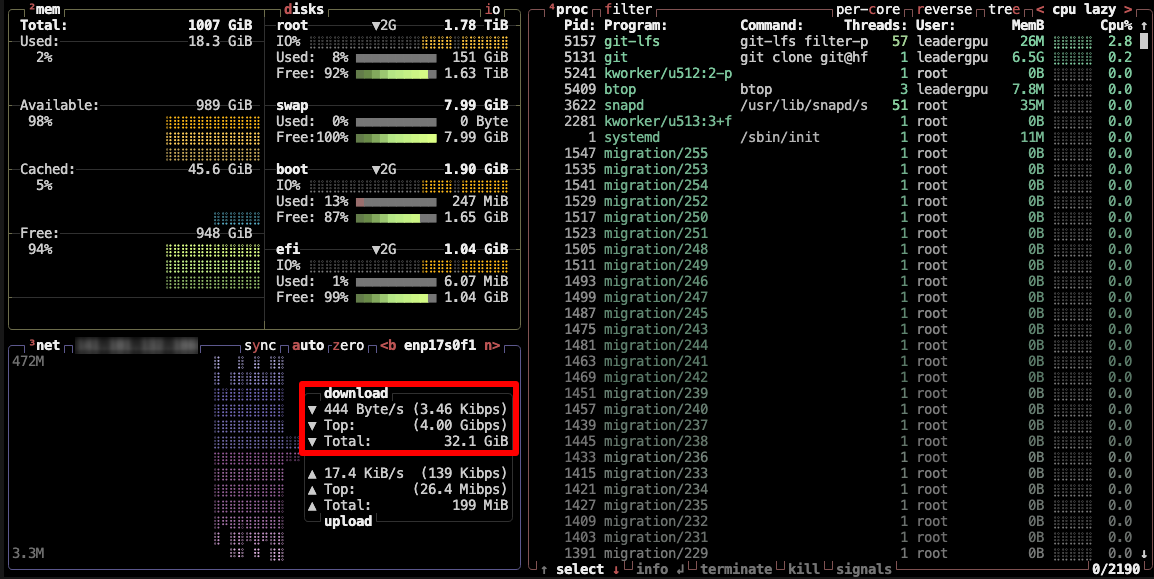
To quit the btop utility, press the Esc key and select Quit.
Step 3. Run the model
Open the directory:
cd /mnt/fastdiskDownload the Llama 3 repository:
git clone https://github.com/meta-llama/llama3Change the directory:
cd llama3Run the example:
torchrun --nproc_per_node 1 example_text_completion.py \
--ckpt_dir /mnt/fastdisk/Meta-Llama-3-8B/original \
--tokenizer_path /mnt/fastdisk/Meta-Llama-3-8B/original/tokenizer.model \
--max_seq_len 128 \
--max_batch_size 4
Now you can use Llama 3 in your applications.
Published: 19.04.2024