


Connect to a Linux server
From Linux command line
Most Linux distributions come with an SSH client (OpenSSH) included, making it easy to connect to remote servers. However, if you find yourself without OpenSSH installed for some reason, you can usually get it install with a single command:
Debian/Ubuntu
sudo apt install openssh-serverRed-Hat Enterprise Linux
sudo dnf install openssh-serverArch
sudo pacman -Sy opensshOpenSUSE
sudo zypper install --no-confirm opensshUsing
ssh usergpu@remote_server_ipwhere remote_server_ip is your LeaderGPU server’s IP address.
From desktop Linux
Ubuntu 23.04
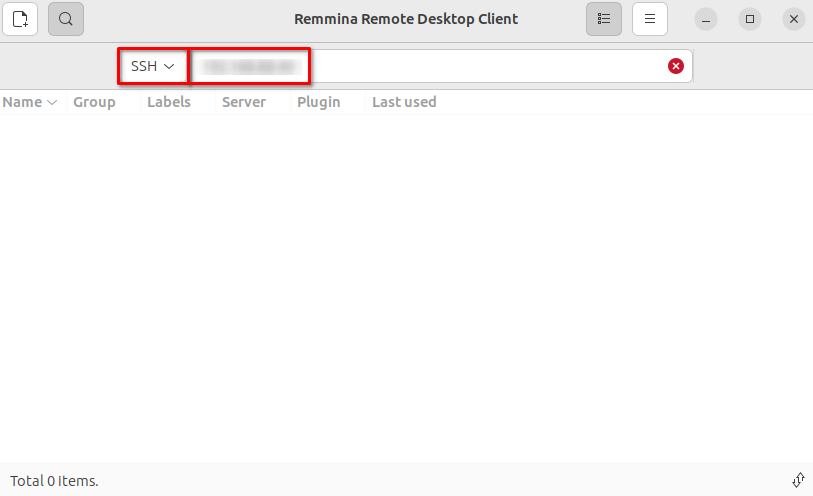
If you have Ubuntu Desktop installed on your computer, you may already have a Remmina client. This program supports RDP, VNC and SSH protocols. To establish an SSH connection, select SSH from the drop-down menu and enter the IP address for the LeaderGPU server. Then, press the Enter key to confirm:
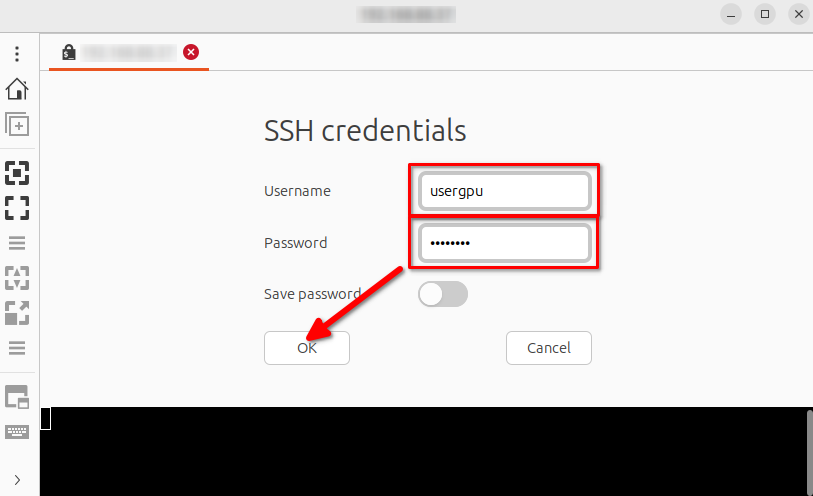
The system will prompt you to enter your login credentials. Please provide your username and password, and click the OK button to proceed:
You now have complete control and can perform any operations on the remote server:

OpenSUSE Tumbleweed
To obtain an SSH client with a graphical user interface, the easiest way is to install PuTTY. Start by updating your package cache through the Zypper package manager:
sudo zypper refreshThen install PuTTY:
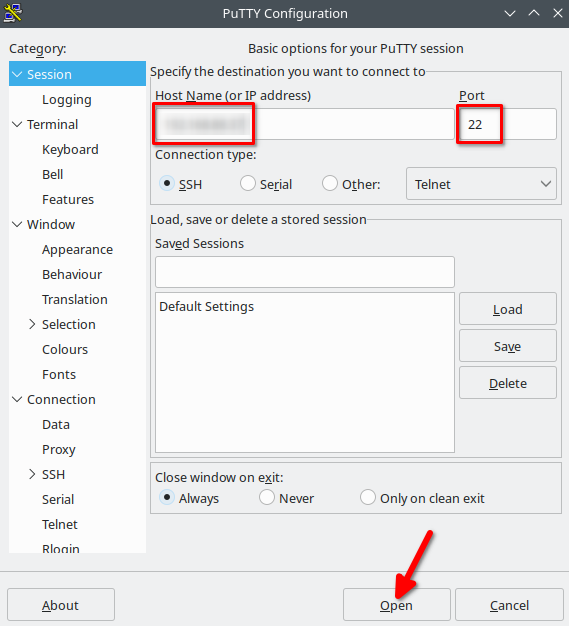
sudo zypper install puttyEnter your LeaderGPU server’s IP address and check that port number is 22. Click the Open button to proceed:
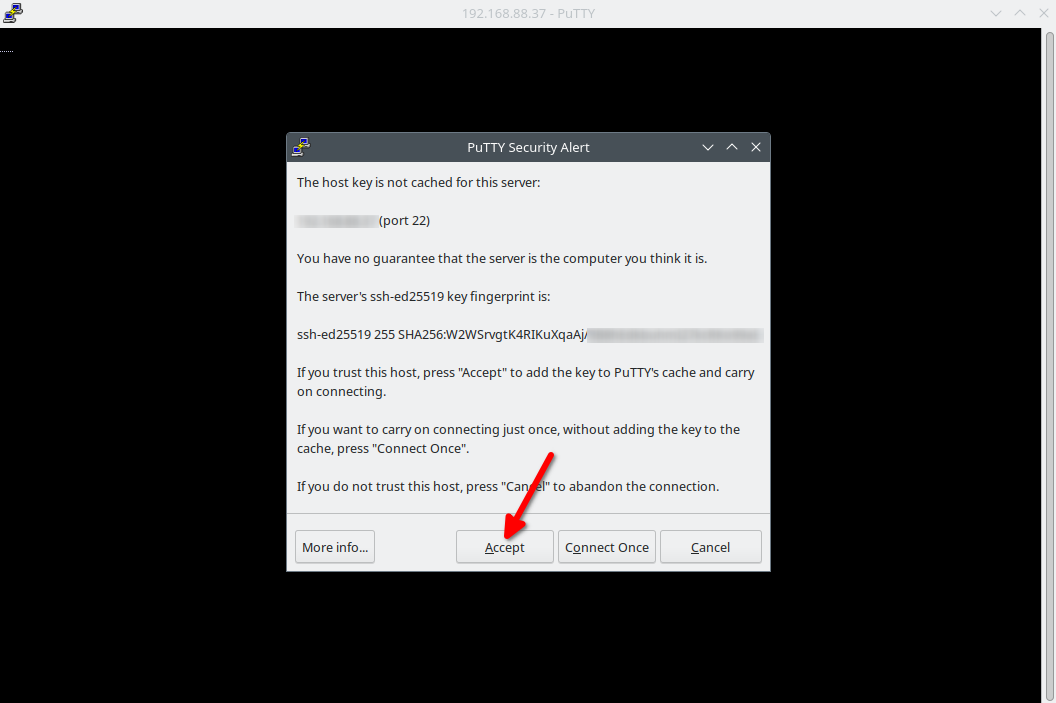
Please confirm connection by pressing Accept:
That’s all. You have successfully connected to your server:
From Windows
PuTTY
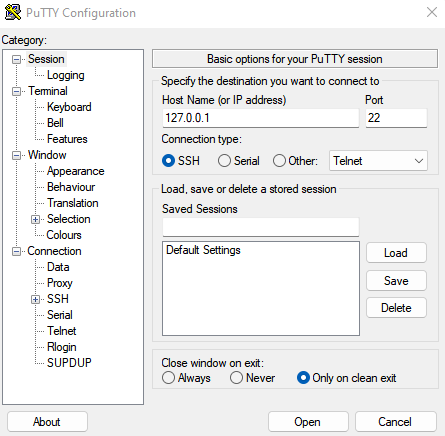
PuTTY remains a top pick for many, with its support for not only SSH but also other protocols like Telnet. It’s a cost-free tool that is accessible across various platforms. You can easily download it from the official PuTTY website. To connect to the server, please replace 127.0.0.1 with your LeaderGPU server’s IP-address and click the Open button below:
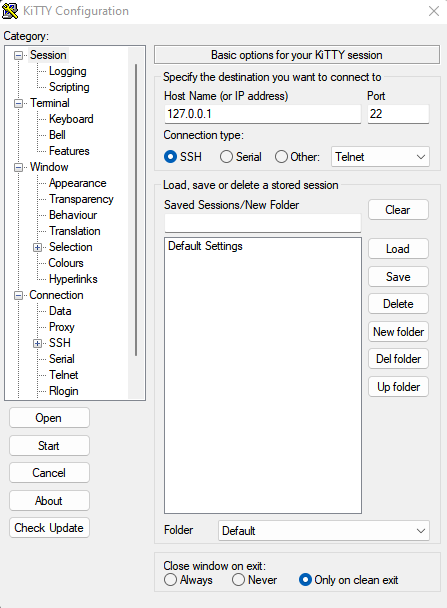
KiTTY
An alternative you might consider is KiTTY. This is a PuTTY fork that features GPU rendering, which enables smooth scrolling and responsive typing. The connection process is exactly the same:
MobaXterm
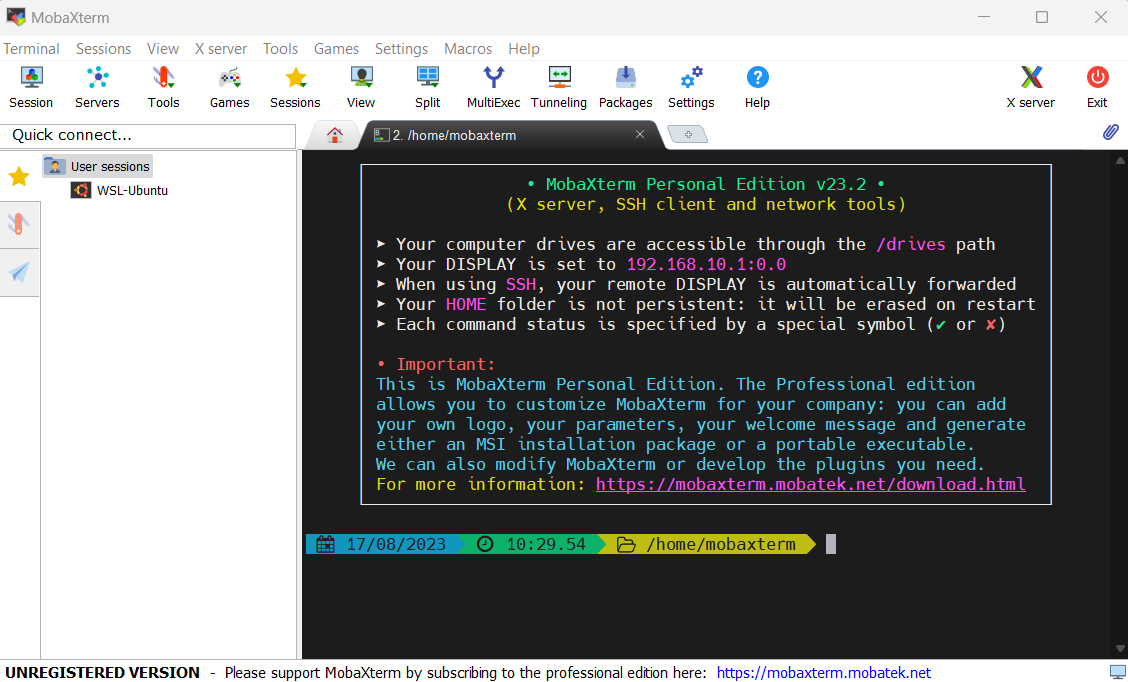
MobaXterm is a feature-rich SSH client that comes in two editions: Home and Professional. While the Home edition has certain limitations, it is still a powerful tool that can be used for a variety of tasks. MobaXterm is highly recommended as a substitute SSH client with a lot of advanced features:
From macOS
Terminal
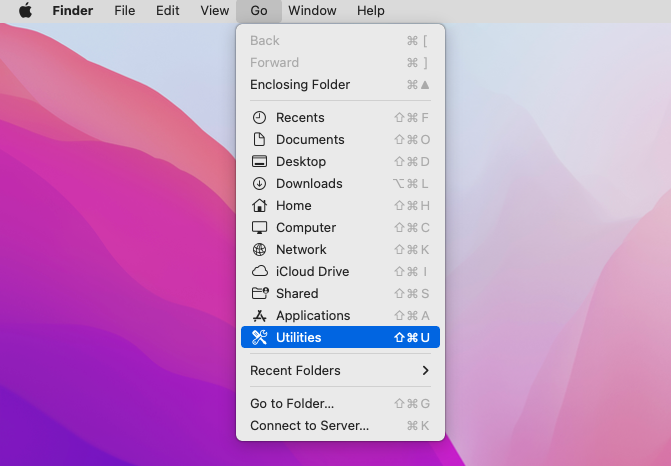
The process of connecting to a remote server via command line is similar to the same process in Linux. In Finder select menu Go > Utilities:
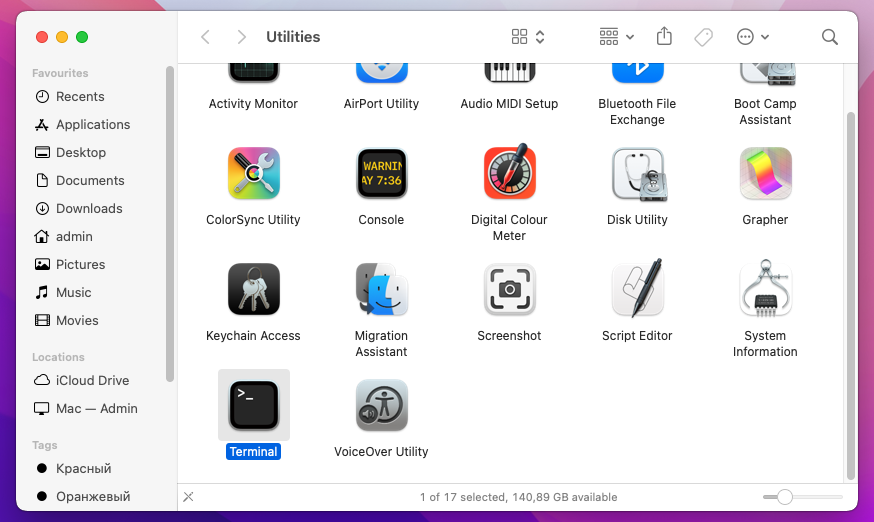
Double click to Terminal:
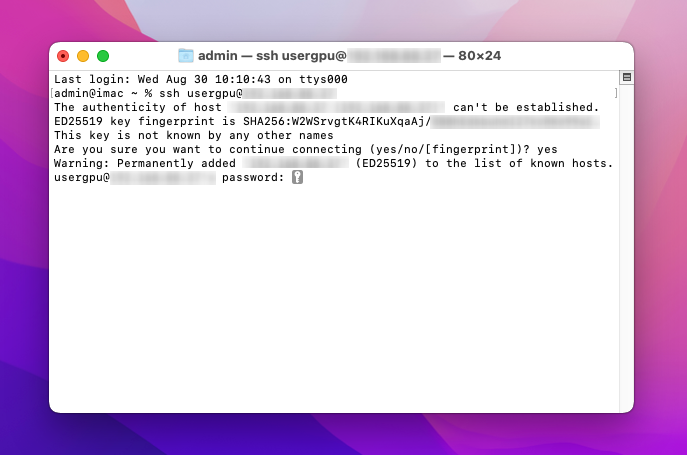
Execute command and confirm with Enter key:
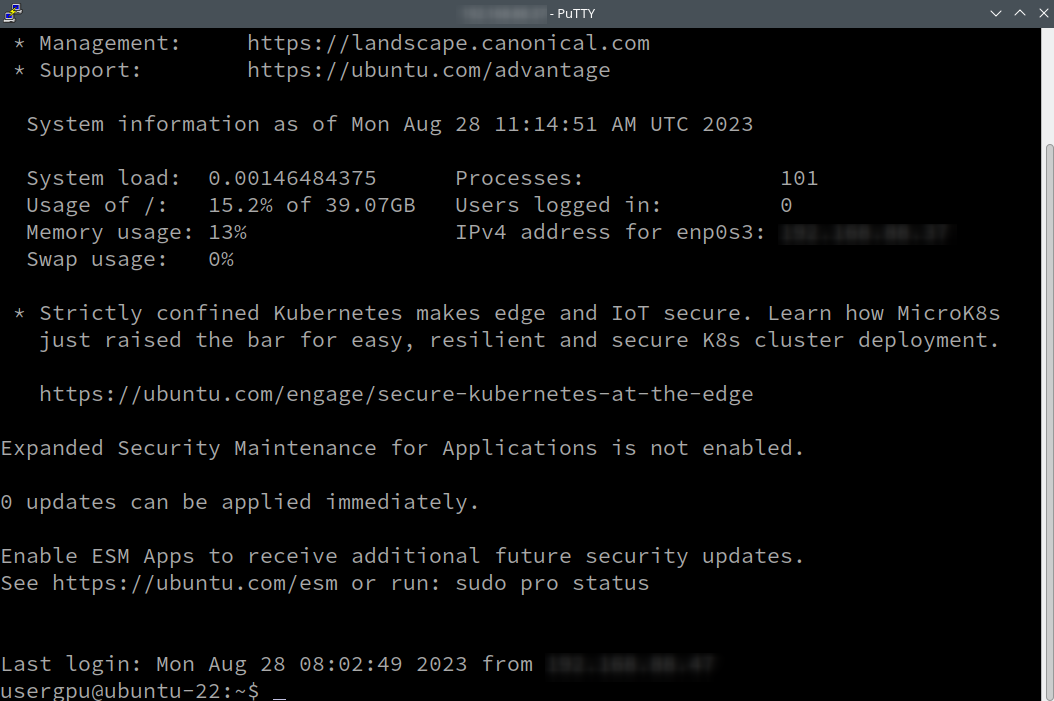
ssh usergpu@[LeaderGPU_server’s_IP-address]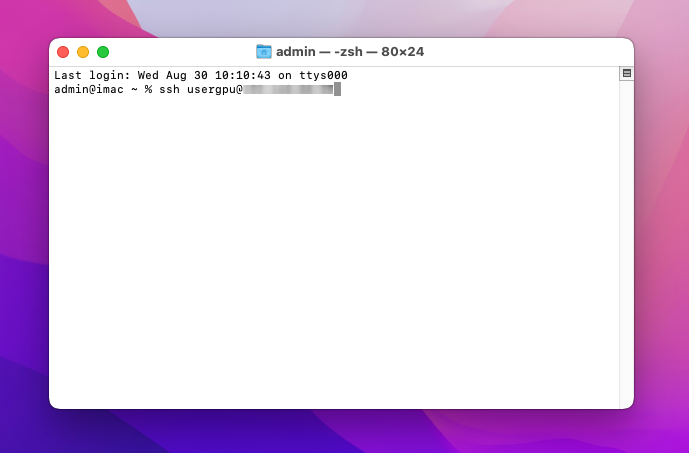
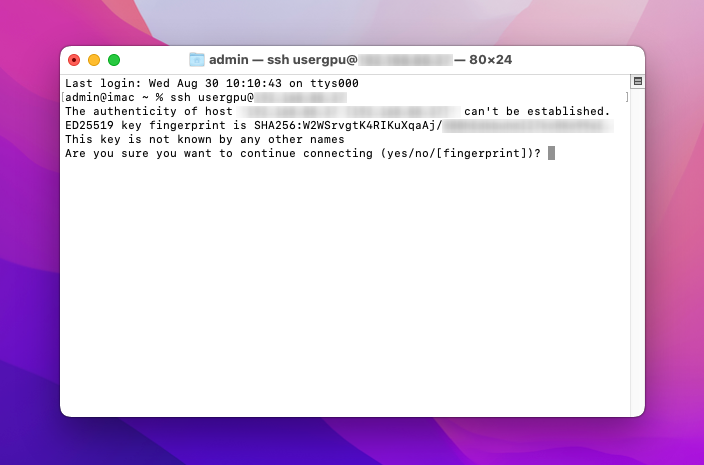
Confirm the connection by typing yes and pressing Enter key or using fingerprint sensor:
Enter your password. Please note that the entered data will not be displayed on the screen. Complete your entry with Enter:
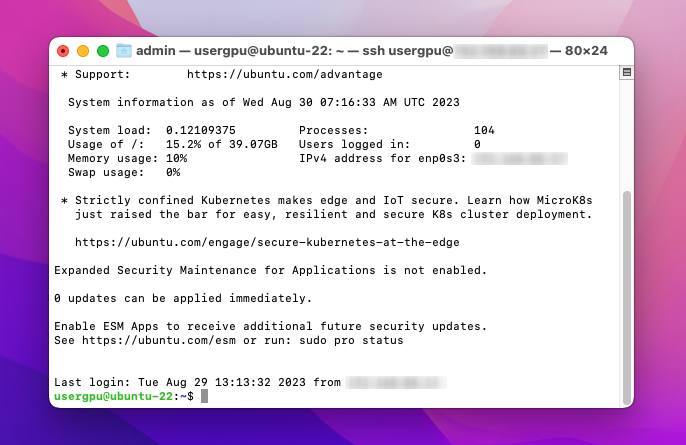
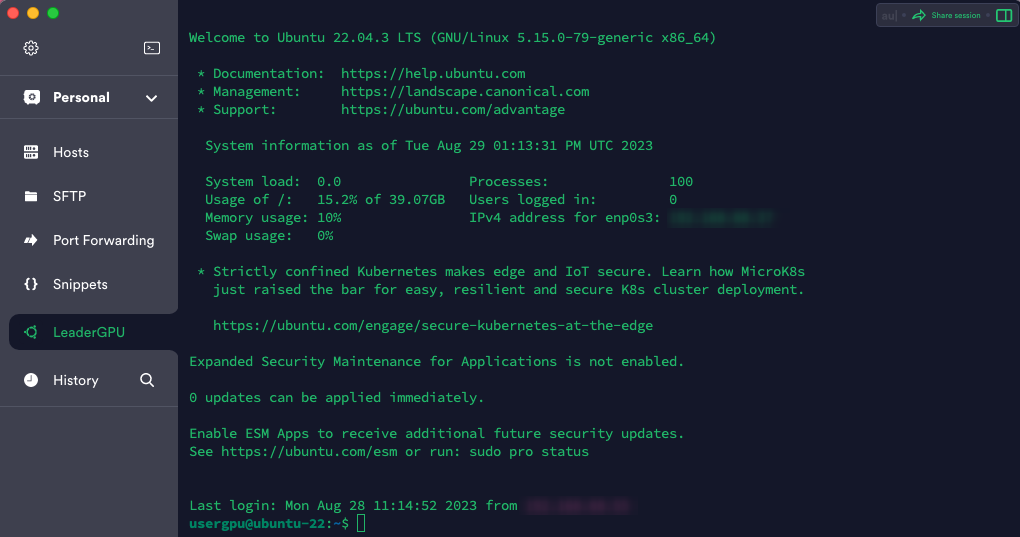
You successfully connected to the remote server:
Termius
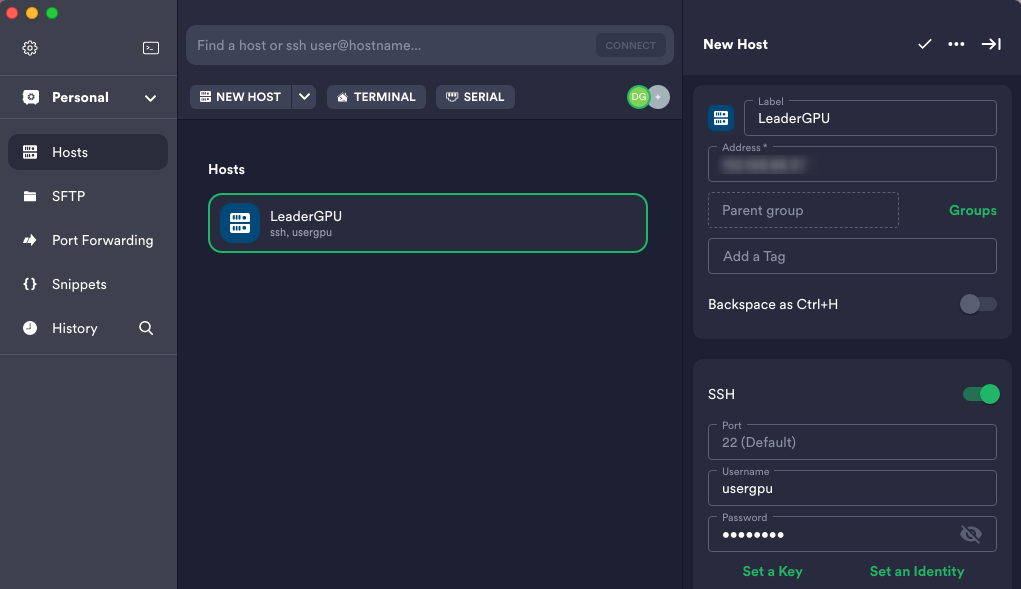
This is one of the most commonly used graphical SSH clients available. Free version can be downloaded from the official website. To use Termius, you must create an account. Application will save all data about hosts in the cloud, so you don’t have to re-enter it when using the application on another device.
After that click the NEW HOST button and enter the required information: LeaderGPU server’s IP address, username and password. Confirm with button with tick symbol and double click on LeaderGPU at the center of the application:
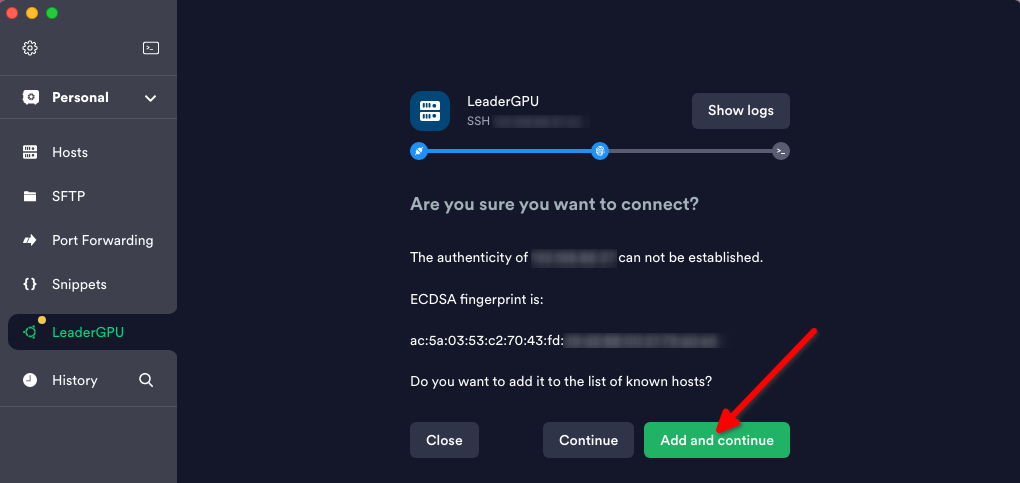
Next system will ask you about the server's certificate. Proceed with Add and continue green button:
After successful connection, you will get full control to the remote server:
Next steps:
Updated: 04.01.2026
Published: 25.03.2024