


Open WebUI: All in one

Open WebUI was originally developed for Ollama, which we talked about in one of our articles. Previously, it was called Ollama WebUI, but over time, the focus shifted to universality of application, and the name was changed to Open WebUI. This software solves the key problem of convenient work with large neural network models placed locally or on user-controlled servers.
Installation
The main and most preferred installation method is to deploy a Docker container. This allows you not to think about the presence of dependencies or other components that ensure the correct operation of the software. However, you can install Open WebUI by cloning the project repository from GitHub and building it from source code. In this article, we’ll consider both options.
Before you begin, make sure that the GPU drivers are installed on the server. Our instruction Install NVIDIA® drivers in Linux will help you do this.
Using Docker
If you’ve just ordered a server, then the Docker Engine itself and the necessary set of tools for passing GPUs to the container will be missing. We don’t recommend installing Docker from the standard Ubuntu repository, since it may be outdated and not support all modern options. It would be better to use the installation script posted on the official website:
curl -sSL https://get.docker.com/ | shIn addition to Docker, you need to install the NVIDIA® Container Toolkit, so enable the NVIDIA® repository:
curl -fsSL https://nvidia.github.io/libnvidia-container/gpgkey | sudo gpg --dearmor -o /usr/share/keyrings/nvidia-container-toolkit-keyring.gpg \
&& curl -s -L https://nvidia.github.io/libnvidia-container/stable/deb/nvidia-container-toolkit.list | \
sed 's#deb https://#deb [signed-by=/usr/share/keyrings/nvidia-container-toolkit-keyring.gpg] https://#g' | \
sudo tee /etc/apt/sources.list.d/nvidia-container-toolkit.list
Update your package cache and install NVIDIA® Container Toolkit:
sudo apt update && sudo apt -y install nvidia-container-toolkitFor the toolchain to work, you’ll need to restart the Docker daemon:
sudo systemctl restart dockerNow you can run the desired container. Note that the following command doesn't isolate containers from the host network because later you can enable additional options, such as generating images using the Stable Diffusion WebUI. This command will automatically download and run all layers of the image:
sudo docker run -d --network=host --gpus=all -v ollama:/root/.ollama -v open-webui:/app/backend/data --name open-webui --restart always ghcr.io/open-webui/open-webui:ollamaUsing Git
Ubuntu 22.04
First, you need to clone the contents of the repository:
git clone https://github.com/open-webui/open-webui.gitOpen the downloaded directory:
cd open-webui/Copy the example configuration (you can modify it if necessary), which will set the environment variables for the build:
cp -RPp .env.example .envInstall the NVM installer, which will help you install the required version of Node.js on the server:
curl -o- https://raw.githubusercontent.com/nvm-sh/nvm/v0.39.7/install.sh | bashAfter that, you need to close and reopen the SSH session so that the next command works correctly.
Install Node Package Manager:
sudo apt -y install npmInstall Node.js version 22 (current at the time of writing this article):
npm install 22Install the dependencies required for further assembly:
npm installLet’s start the build. Please note that it requires more than 4GB of free RAM:
npm run buildThe frontend is ready; now it’s time to prepare the backend. Go to the directory with the same name:
cd ./backendInstall pip and ffmpeg packages:
sudo apt -y install python3-pip ffmpegBefore installation, you need to add a new path to the environment variable:
sudo nano ~/.bashrcAdd the following line to the end of the file:
export PATH="/home/usergpu/.local/bin:$PATH"Let’s update it to the latest version:
python3 -m pip install --upgrade pipNow you can install the dependencies:
pip install -r requirements.txt -UInstall Ollama:
curl -fsSL https://ollama.com/install.sh | shEverything is ready to launch the application:
bash start.shUbuntu 24.04 / 24.10
When installing OpenWebUI on Ubuntu 24.04/24.10, you'll face a key challenge: the operating system uses Python 3.12 by default, while OpenWebUI only supports version 3.11. You can't simply downgrade Python, doing so would break the operating system. Since the python3.11 package isn't available in the standard repositories, you'll need to create a virtual environment to use the correct Python version.
The best solution is to use the Conda package management system. Conda works like pip but adds virtual environment support similar to venv. Since you only need basic functionality, you'll use Miniconda, a lightweight distribution. Download the latest release from GitHub:
curl -L -O "https://github.com/conda-forge/miniforge/releases/latest/download/Miniforge3-$(uname)-$(uname -m).sh"Run the script:
bash Miniforge3-$(uname)-$(uname -m).shconda create -n pyenv python=3.11Activate the created environment:
conda activate pyenvNow you can proceed with the standard OpenWebUI installation steps for Ubuntu 22.04. The virtual environment ensures that all installation scripts will run smoothly without any package version conflicts.
Models
Ollama library
Open WebUI allows you to upload models directly from the web interface, specifying only the name in the format model:size. To do this, navigate to http://192.168.88.20:8080/admin/settings and click Connections. Then click on wrench icon opposite the http://localhost:11434 string. After looking at the names of the models in the library, enter its name and click on the upload icon:

After that, the system will automatically download the required model, and it will immediately become available for use. Depending on the selected size, the download may take a different amount of time. Before downloading, make sure that there is enough space on the disk drive. For more information, see the article Disk partitioning in Linux.
Custom models
If you need to integrate a neural network model that is not in the Ollama library, you can use the experimental function and load any arbitrary model in GGUF format. To do this, go to Settings - Admin Settings - Connections and click on wrench icon opposite the http://localhost:11434. Click on Show in the Experimental section. By default, the file mode is activated, which allows you to load a file from your local computer. If you click File Mode, it will change to URL Mode, which allows you to specify the URL of the model file, and the server will download it automatically:

RAG
In addition to a convenient and functional web interface, Open WebUI helps expand the capabilities of different models, ensuring their joint use. For example, it’s easy to upload documents to form a RAG (Retrieval-augmented generation) vector database. In the process of generating a response to the user, LLM will be able to rely not only on data obtained directly as a result of training, but also on data placed in a similar vector database.
Documents
By default, Open WebUI scans the /data/docs directory for files that can be placed in the database vector space and performs the transformation using the built-in all-MiniLM-L6-v2 model. This is not the only model that is suitable for this task, so it makes sense to try other options, for example, from this list.
Text documents, cleared of tags and other special characters, are best suited for RAG. Of course, you can upload documents as is, but this can greatly affect the accuracy of the generated answers. For example, if you have a knowledge base in Markdown format, you can first clear it of formatting and only then upload it to /data/docs.
Web search
In addition to local documents, the neural network model can be instructed to use any websites as a data source. This will allow it to answer questions using not only the data it was trained on, but also data hosted on websites specified by the user.
In fact, this is a type of RAG, which receives HTML pages as input and then transforms them in a special way, taking their place in a vector database. Searching through such a database will be very fast; therefore, the neural network model will be able to quickly generate a response based on its results. Open WebUI supports different search engines but can only work with one at a time, which is specified in the settings.
To include web search results in neural network responses, click + (plus symbol) and slide the Web Search switch:

Image generating
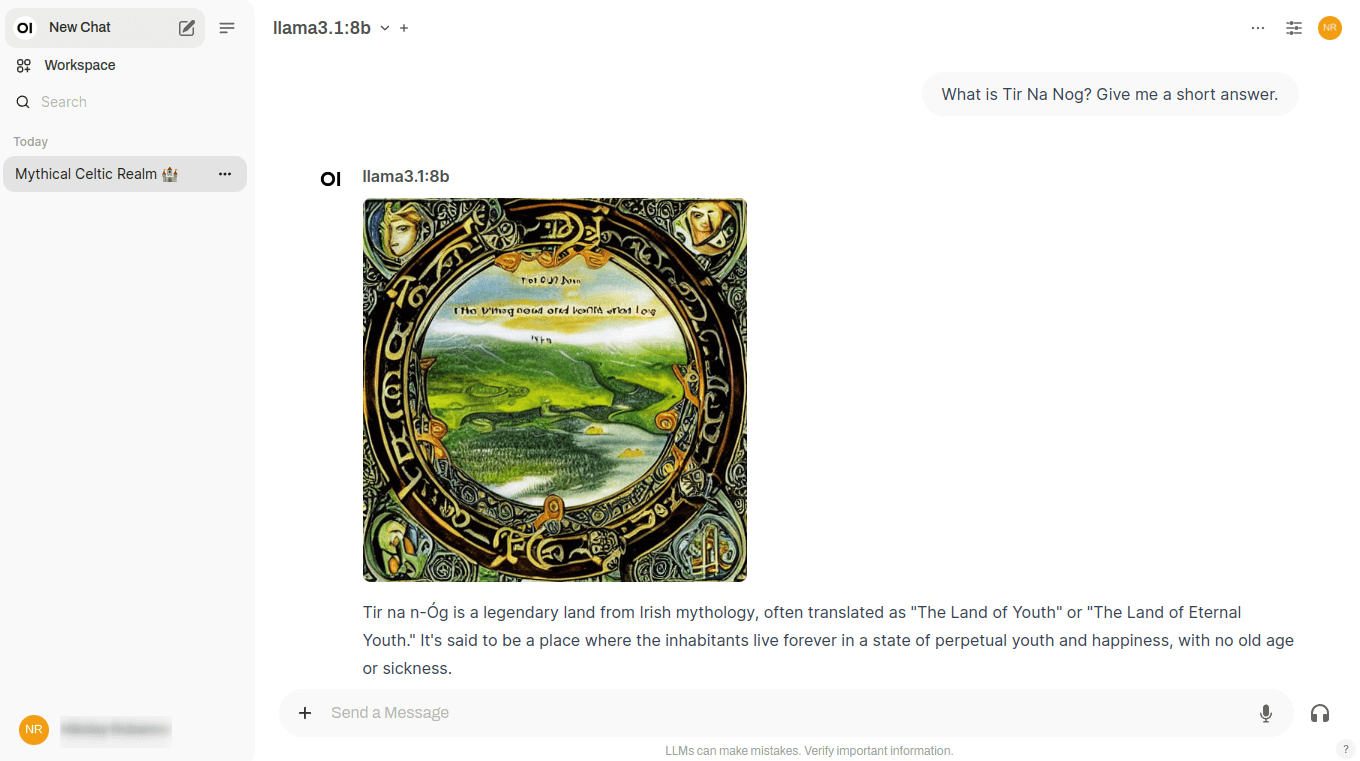
The highlight of Open WebUI is that this software allows you to combine several neural networks with different tasks to solve a single problem. For example, Llama 3.1 perfectly conducts a dialogue with the user in several languages, but its answers will be exclusively text. It can’t generate images, so there is no way to illustrate its answers.
Stable Diffusion, which we often wrote about, is the opposite: this neural network generates images perfectly, but it can’t work with texts at all. The developers of Open WebUI tried to combine the strengths of both neural networks in one dialogue and implemented the following scheme of work.
When you conduct a dialogue in Open WebUI, a special button appears next to each neural network response. By clicking on it, you’ll receive an illustration of this response directly in the chat:
This is achieved by calling the Stable Diffusion WebUI API, and at the moment, a connection with versions from Automatic1111 and a connection to ComfyUI are available. You can also generate images via the Dall-E neural network, but it can’t be deployed locally - this is a paid image generation service with closed source code.
This feature will only work if, in addition to Open WebUI with Ollama, Stable Diffusion WebUI is installed on the server. You can find the installation instructions here. The only thing worth mentioning is that when running the ./webui.sh script, you’ll need to specify an additional key to enable the API:
./webui.sh --listen --api --gradio-auth user:passwordAnother pitfall may arise due to a lack of video memory. If you encounter this, you can use two useful keys: --medvram and --lowvram. This will avoid the Out-of-memory error when starting generation.
See also:
Updated: 04.01.2026
Published: 20.01.2025


