


How does Ollama work

Ollama is a tool for running large neural network models locally. The use of public services is often perceived by businesses as a potential risk for leakage of confidential and sensitive data. Therefore, deploying LLM on a controlled server allows you to independently manage the data placed on it while utilizing the strengths of LLM.
This also helps avoid the unpleasant situation of vendor lock-in, where any public service can unilaterally stop providing services. Of course, the initial goal is to enable the use of generative neural networks in locations where internet access is absent or difficult (for example, on an airplane).
The idea was to simplify the launch, control and fine-tuning of LLMs. Instead of complex multi-step instructions, Ollama allows you to execute one simple command and receive the finished result after some time. It will be presented simultaneously in the form of a local neural network model, with which you can communicate using a web interface and API for easy integration into other applications.
For many developers, this became a very useful tool, as in most cases, it was possible to integrate Ollama with the IDE used and receive recommendations or ready-made code written directly while working on the application.
Ollama was originally intended only for computers with the macOS operating system, but was later ported to Linux and Windows. A special version has also been released for working in containerized environments such as Docker. Currently, it works equally well on both desktops and any dedicated server with a GPU. Ollama supports the ability to switch between different models out-of-the-box and maximizes all available resources. Of course, these models may not perform as well on a regular desktop, but they function quite adequately.
How to install Ollama
Ollama can be installed in two ways: without using containerization, using an installation script, and as a ready-made Docker container. The first method makes it easier to manage the components of the installed system and models, but is less fault-tolerant. The second method is more fault tolerant, but when using it, you need to take into account all the aspects inherent in containers: slightly more complex management and a different approach to data storage.
Regardless of the chosen method, several additional steps are needed to prepare the operating system.
Prerequisites
Update the package cache repository and installed packages:
sudo apt update && sudo apt -y upgradeInstall all necessary GPU drivers using auto install feature:
sudo ubuntu-drivers autoinstallReboot the server:
sudo shutdown -r nowInstallation via script
The following script detects the current operating system architecture and installs the appropriate version of Ollama:
curl -fsSL https://ollama.com/install.sh | shDuring operation, the script will create a separate ollama user, under which the corresponding daemon will be launched. Incidentally, the same script functions well in WSL2, enabling the installation of the Linux version of Ollama on Windows Server.
Installation via Docker
There are various methods to install Docker Engine on a server. The easiest way is to use a specific script that installs the current Docker version. This approach is effective for Ubuntu Linux, from version 20.04 (LTS) up to the latest version, Ubuntu 24.04 (LTS):
curl -sSL https://get.docker.com/ | shFor Docker containers to interact properly with the GPU, an additional toolkit must be installed. Since it’s not available in the basic Ubuntu repositories, you need to first add a third-party repository using the following command:
curl -fsSL https://nvidia.github.io/libnvidia-container/gpgkey | sudo gpg --dearmor -o /usr/share/keyrings/nvidia-container-toolkit-keyring.gpg \
&& curl -s -L https://nvidia.github.io/libnvidia-container/stable/deb/nvidia-container-toolkit.list | \
sed 's#deb https://#deb [signed-by=/usr/share/keyrings/nvidia-container-toolkit-keyring.gpg] https://#g' | \
sudo tee /etc/apt/sources.list.d/nvidia-container-toolkit.list
Update the package cache repository:
sudo apt updateAnd install the nvidia-container-toolkit package:
sudo apt install nvidia-container-toolkitDon’t forget to restart the docker daemon via systemctl:
sudo systemctl restart dockerIt’s time to download and run the Ollama with the Open-WebUI web interface:
sudo docker run -d -p 3000:8080 --gpus=all -v ollama:/root/.ollama -v open-webui:/app/backend/data --name open-webui --restart always ghcr.io/open-webui/open-webui:ollamaOpen the web browser and navigate to http://[server-ip]:3000:
Download and run the models
Via command line
Just run the following command:
ollama run llama3Via WebUI
Open Settings > Models, type the necessary model name, for example, llama3 and click on the button with download symbol:

The model will download and install automatically. Once completed, close the settings window and select the downloaded model. After this you can begin a dialogue with it:

VSCode integration
If you have installed Ollama using the installation script, you can launch any of the supported models almost instantly. In the next example, we will run the default model expected by the Ollama Autocoder extension (openhermes2.5-mistral:7b-q4_K_M):
ollama run openhermes2.5-mistral:7b-q4_K_MBy default, Ollama permits working through an API, only allowing connections from the local host. Hence, before installing and using the extension for Visual Studio Code, port forwarding is required. Specifically, you need to forward remote port 11434 to your local computer. You can find an example of how to do this in our article about Easy Diffusion WebUI.
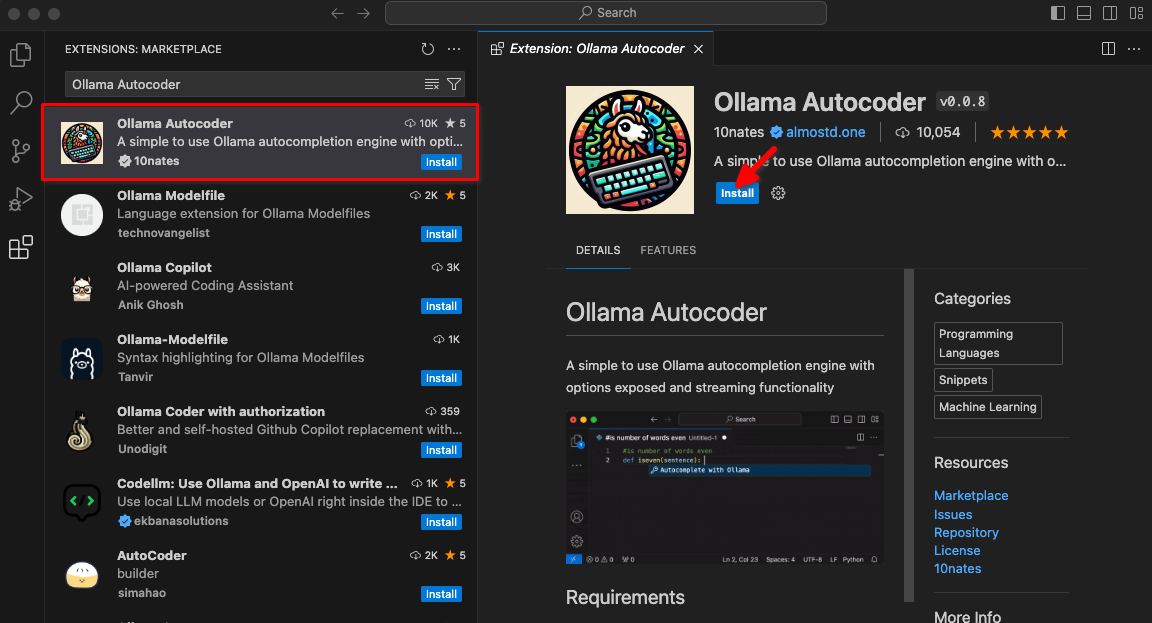
Type Ollama Autocoder in a search field, then click Install:
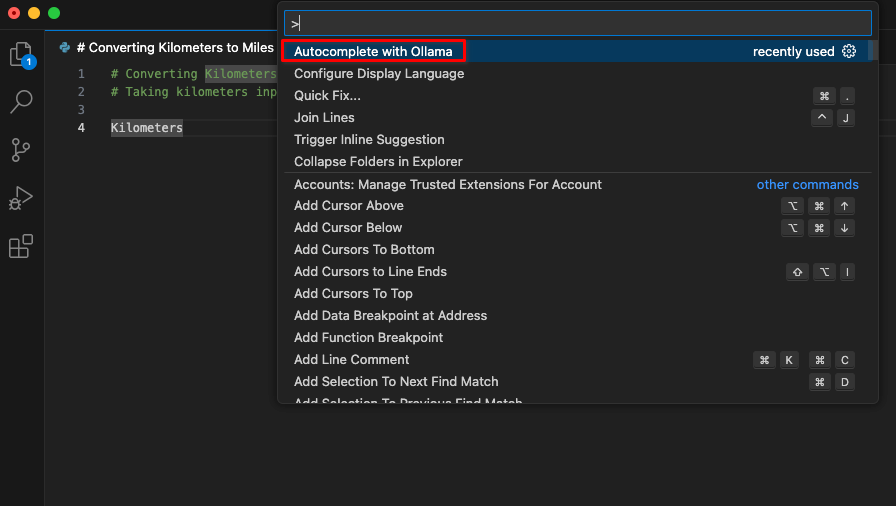
After installing the extension, a new item titled Autocomplete with Ollama will be available in the command palette. Begin coding and initiate this command.
The extension will connect to the LeaderGPU server using port forwarding and within a few seconds, the generated code will display on your screen:
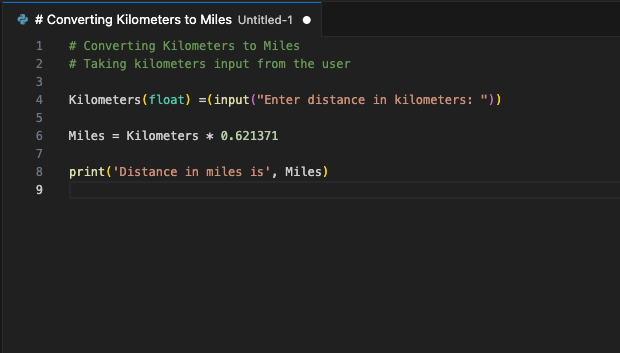
You can assign this command to a hotkey. Use it whenever you want to supplement your code with a generated fragment. This is just one example of available VSCode extensions. The principle of port forwarding from a remote server to a local computer enables you to set up a single server with a running LLM for an entire developer team. This assurance prevents third-party companies or hackers from using the sent code.
See also:
Updated: 04.01.2026
Published: 20.01.2025


