


Your own Qwen using HF
Large neural network models, with their extraordinary abilities, are firmly rooted in our lives. Recognizing this as an opportunity for future development, large corporations began to develop their own versions of these models. The Chinese giant, Alibaba, didn’t stand by. They created their own model, QWen (Tongyi Qianwen), which became the basis for many other neural network models.
Prerequisites
Update cache and packages
Let’s update the package cache and upgrade your operating system before you start setting up Qwen. Also, we need to add Python Installer Packages (PIP), if it isn’t already present in the system. Please note that for this guide, we are using Ubuntu 22.04 LTS as the operating system:
sudo apt update && sudo apt -y upgrade && sudo apt install python3-pipInstall NVIDIA® drivers
You can use the automated utility that is included in Ubuntu distributions by default:
sudo ubuntu-drivers autoinstallAlternatively, you can install NVIDIA® drivers manually using our step-by-step guide. Don’t forget to reboot the server:
sudo shutdown -r nowText generation web UI
Clone the repository
Open the working directory on the SSD:
cd /mnt/fastdiskClone the project’s repository:
git clone https://github.com/oobabooga/text-generation-webui.gitInstall requirements
Open the downloaded directory:
cd text-generation-webuiCheck and install all missing components:
pip install -r requirements.txtAdd SSH key to HF
Before starting, you need to set up port forwarding (remote port 7860 to 127.0.0.1:7860) in your SSH-client. You can find additional information in the following article: Connect to Linux server.
Update the package cache repository and installed packages:
sudo apt update && sudo apt -y upgradeGenerate and add an SSH-key that you can use in Hugging Face:
cd ~/.ssh && ssh-keygenWhen the keypair is generated, you can display the public key in the terminal emulator:
cat id_rsa.pubCopy all information starting from ssh-rsa and ending with usergpu@gpuserver as shown in the following screenshot:
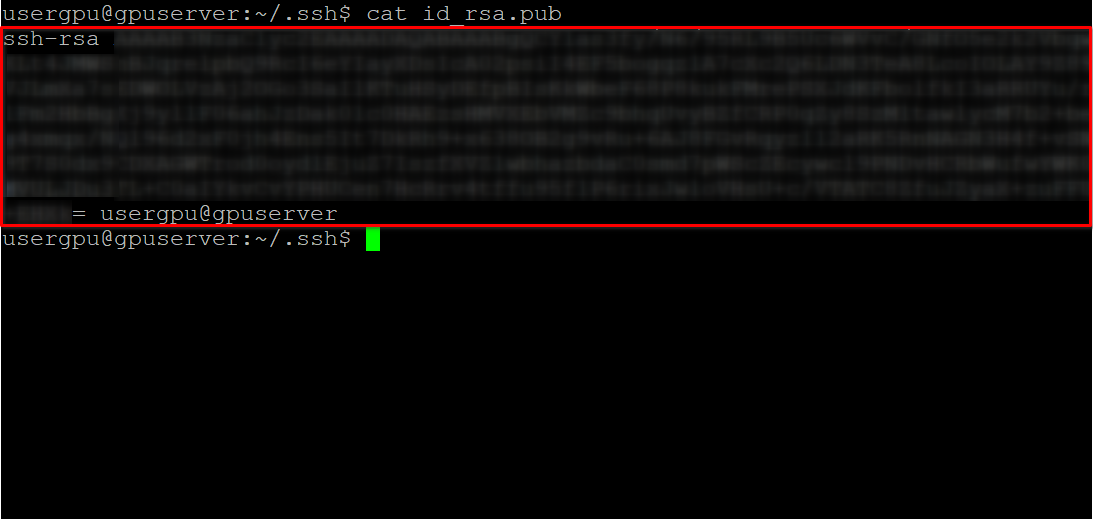
Open a web browser, type https://huggingface.co/ into the address bar and press Enter. Log into your HF-account and open Profile settings. Then choose SSH and GPG Keys and click on the Add SSH Key button:
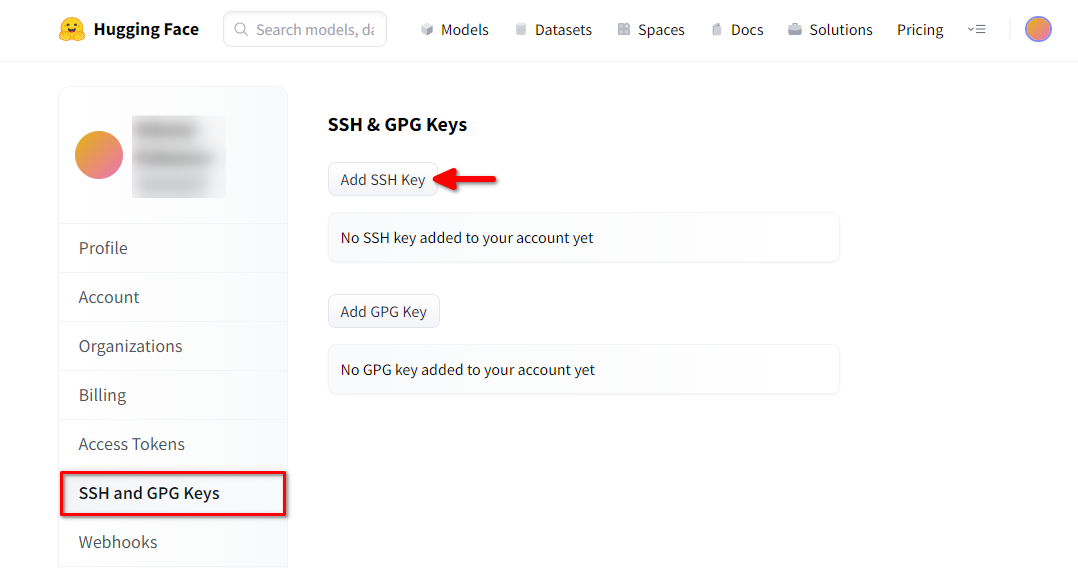
Fill in the Key name and paste the copied SSH Public key from the terminal. Save the key by pressing Add key:
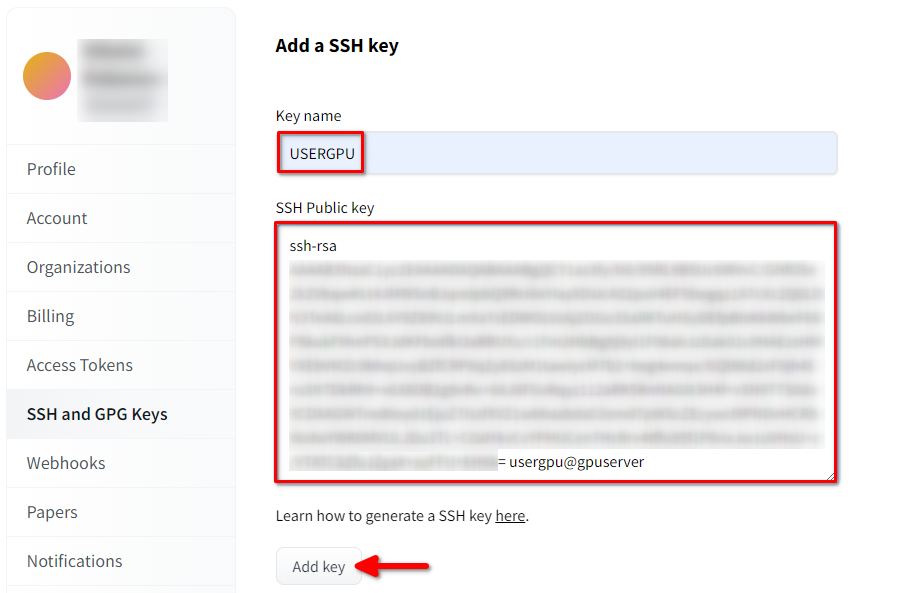
Now, your HF-account is linked with the public SSH-key. The second part (private key) is stored on the server. The next step is to install a specific Git LFS (Large File Storage) extension, which is used for downloading large files such as neural network models. Open your home directory:
cd ~/Download and run the shell script. This script installs a new third-party repository with git-lfs:
curl -s https://packagecloud.io/install/repositories/github/git-lfs/script.deb.sh | sudo bashNow, you can install it using the standard package manager:
sudo apt-get install git-lfsLet’s configure git to use our HF nickname:
git config --global user.name "John"And linked to the HF email account:
git config --global user.email "john.doe@example.com"Download the model
The next step is to download the model using the repository cloning technique commonly used by software developers. The only difference is that the previously installed Git-LFS will automatically process the marked pointer files and download all the content. Open the necessary directory (/mnt/fastdisk in our example):
cd /mnt/fastdiskThis command may take some time to complete:
git clone git@hf.co:Qwen/Qwen1.5-32B-Chat-GGUFRun the model
Execute a script that will start the web server and specify /mnt/fastdisk as the working directory with models. This script may download some additional components upon first launch.
./start_linux.sh --model-dir /mnt/fastdiskOpen your web browser and select the llama.cpp from the Model loader drop-down list:
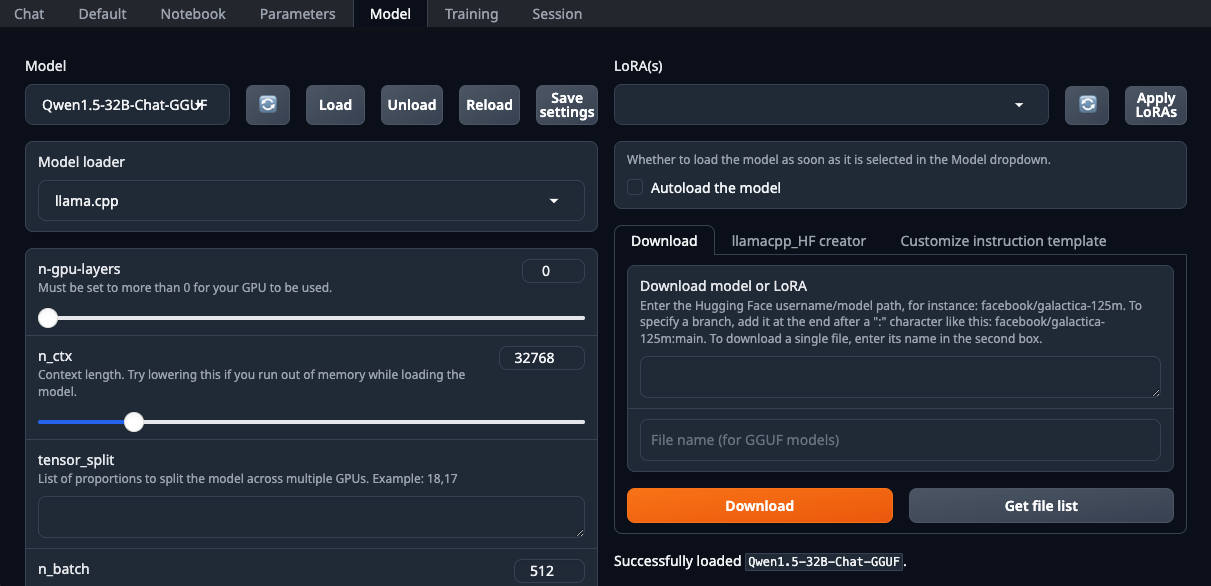
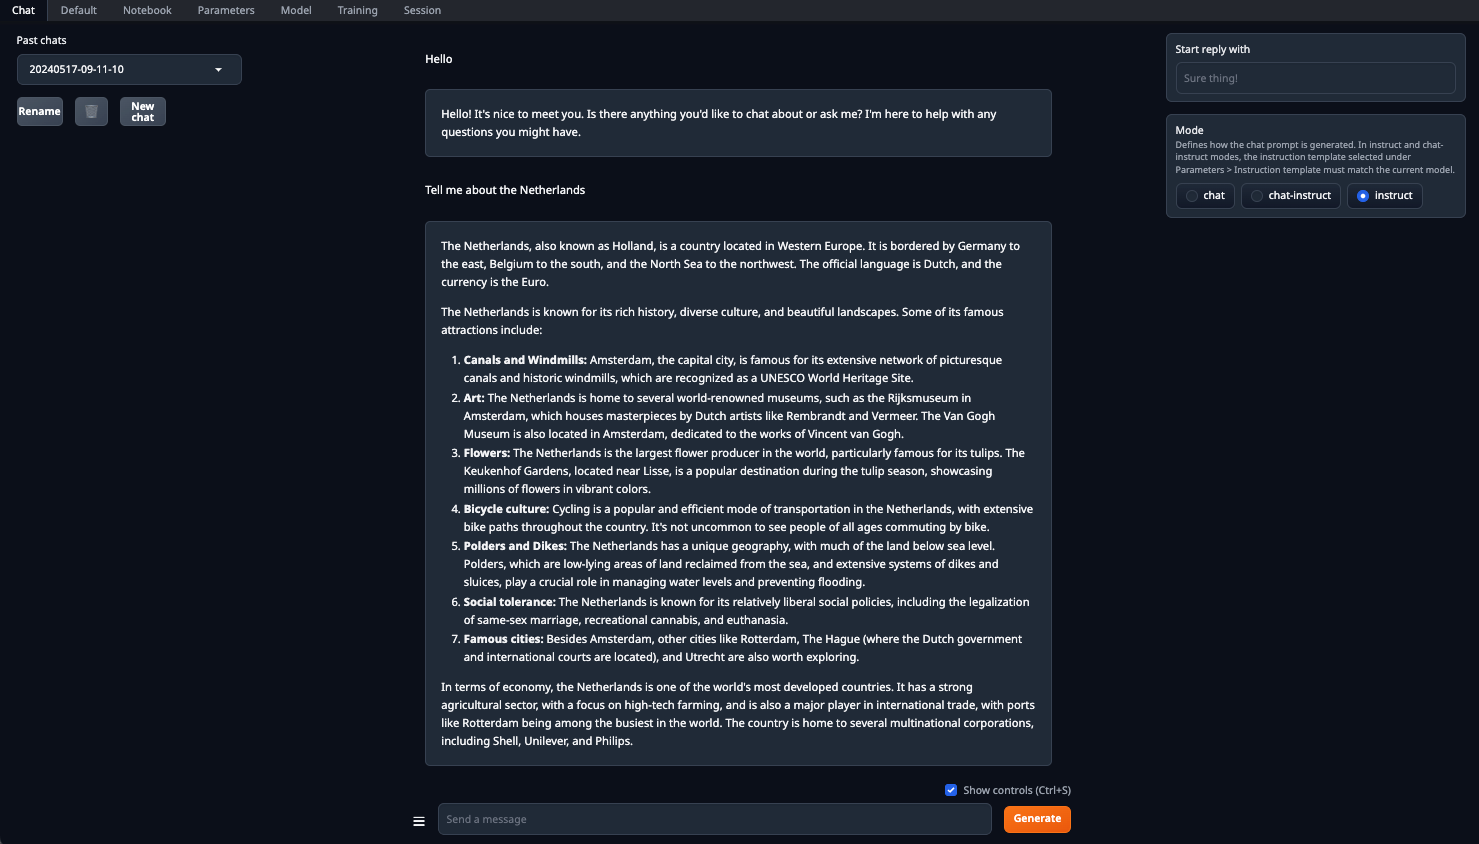
Be sure to set the n-gpu-layers parameter. It is he who is responsible for what percentage of calculations will be offloaded to the GPU. If you leave the number at 0, then all calculations will be performed on the CPU, which is quite slow. Once all parameters are set, click the Load button. After that, go to the Chat tab and select Instruct mode. Now, you can enter any prompt and receive a response:
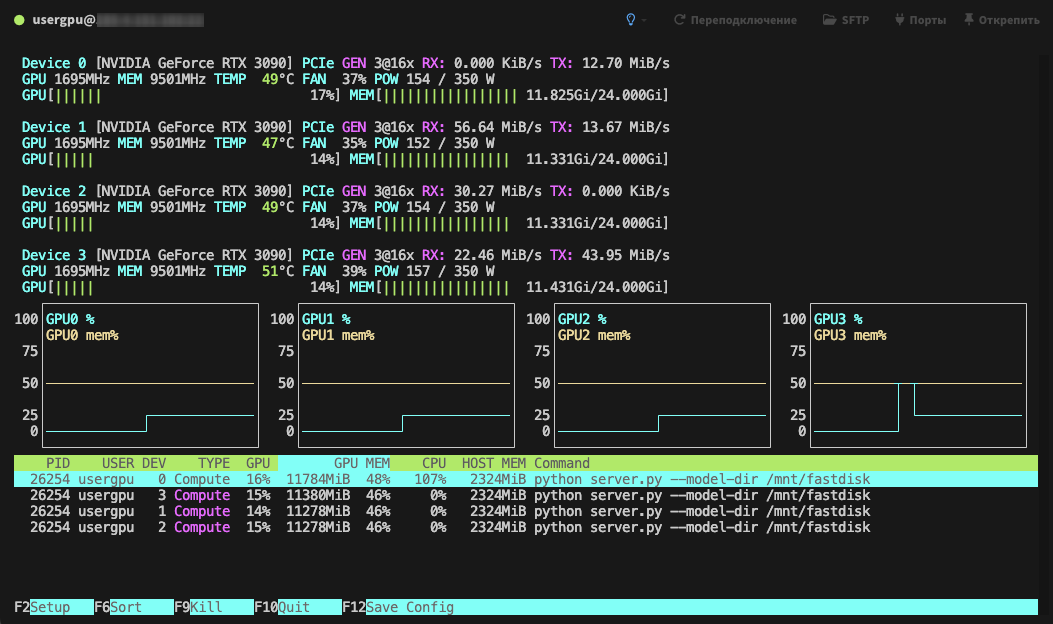
Processing will be performed by default on all available GPUs, taking into account the previously specified parameters:
See also:
Updated: 04.01.2026
Published: 20.01.2025


