


How to monitor LangFlow application
In our article Low-code AI app builder Langflow we explored how to get started with this low-code AI app builder’s visual programming environment. It enables anyone, even those without programming knowledge, to build applications powered by large neural network models. These could be AI chatbots or document processing applications that can analyze and summarize content.
Langflow uses a building-block approach where users connect pre-made components to create their desired application. However, two key challenges often arise: troubleshooting when neural networks behave unexpectedly, and managing costs. Neural networks require substantial computing resources, making it essential to monitor and predict infrastructure expenses.
LangWatch addresses both challenges. This specialized tool helps Langflow developers monitor user requests, track costs, and detect anomalies, such as when applications are used in unintended ways.
This tool was originally designed as a service but can be deployed on any server, including locally. It integrates with most LLM providers, whether cloud-based or on-premise. Being open source, LangWatch can be adapted to almost any project: adding new features or connecting with internal systems.
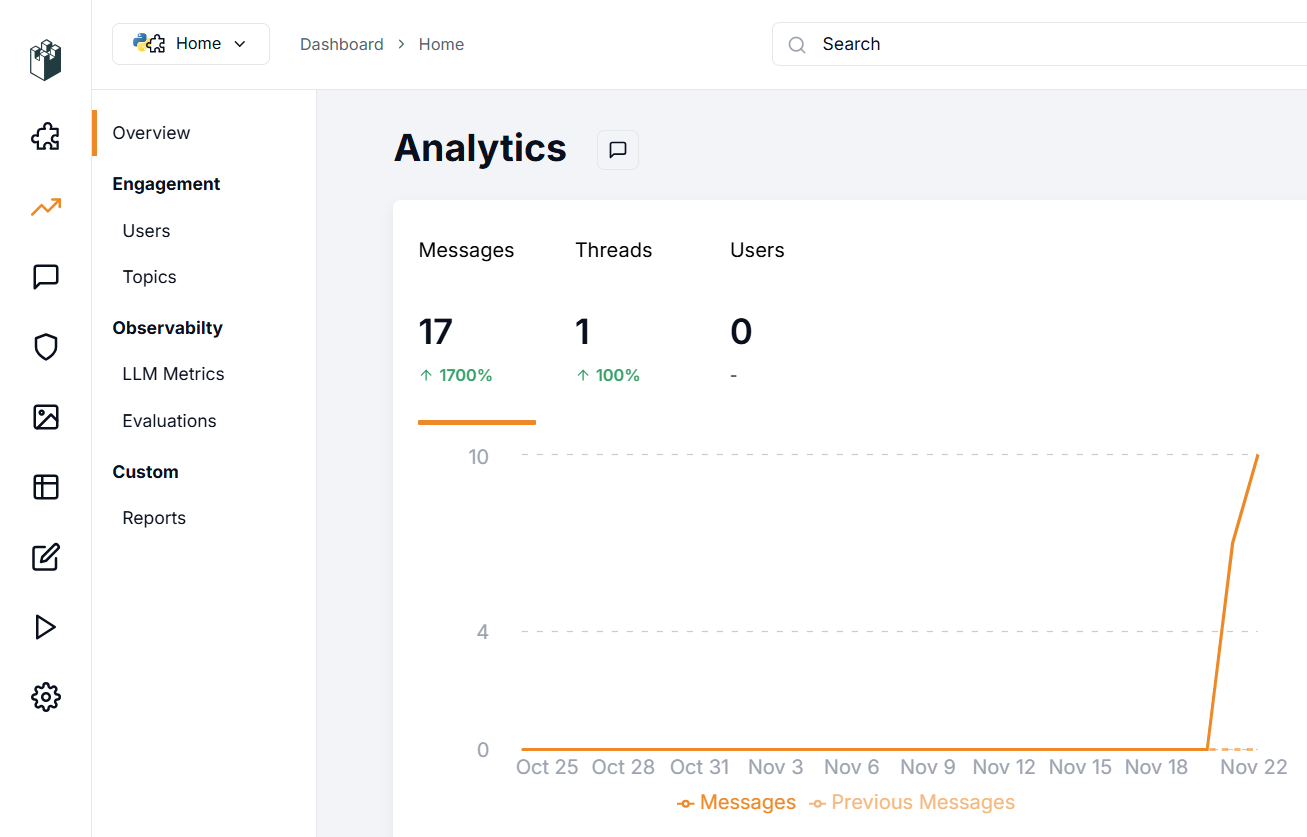
LangWatch lets you set up alerts when specific metrics exceed defined thresholds. This helps you quickly detect unexpected increases in request costs or unusual response delays. Early detection helps prevent unplanned expenses and potential service attacks.
For neural network researchers, this application enables both monitoring and optimization of common user requests. It also provides tools to evaluate model response quality and make adjustments when needed.
Quick start
System prepare
Like Langflow, the simplest way to run the application is through a Docker container. Before installing LangWatch, you’ll need to install Docker Engine on your server. First, update your package cache and the packages to their latest versions:
sudo apt update && sudo apt -y upgradeInstall additional packages required by Docker:
sudo apt -y install apt-transport-https ca-certificates curl software-properties-commonDownload the GPG key to add the official Docker repository:
curl -fsSL https://download.docker.com/linux/ubuntu/gpg | sudo gpg --dearmor -o /usr/share/keyrings/docker-archive-keyring.gpgAdd the repository to APT using the key you downloaded and installed earlier:
echo "deb [arch=$(dpkg --print-architecture) signed-by=/usr/share/keyrings/docker-archive-keyring.gpg] https://download.docker.com/linux/ubuntu $(lsb_release -cs) stable" | sudo tee /etc/apt/sources.list.d/docker.list > /dev/nullRefresh the package list:
sudo apt updateTo ensure that Docker will be installed from the newly added repository and not from the system one, you can run the following command:
apt-cache policy docker-ceInstall Docker Engine:
sudo apt install docker-ceVerify that Docker has been installed successfully and the corresponding daemon is running and in the active (running) status:
sudo systemctl status docker● docker.service - Docker Application Container Engine
Loaded: loaded (/lib/systemd/system/docker.service; enabled; vendor preset>
Active: active (running) since Mon 2024-11-18 08:26:35 UTC; 3h 27min ago
TriggeredBy: ● docker.socket
Docs: https://docs.docker.com
Main PID: 1842 (dockerd)
Tasks: 29
Memory: 1.8G
CPU: 3min 15.715s
CGroup: /system.slice/docker.service
Build and run
With Docker Engine installed and running, you can download the LangWatch application repository:
git clone https://github.com/langwatch/langwatchThe application includes a sample configuration file with environment variables. Copy this file so the image build utility can process it:
cp langwatch/.env.example langwatch/.envNow you’re ready for the first launch:
sudo docker compose up --buildThe system will take a moment to download all necessary container layers for LangWatch. Once complete, you’ll see a console message indicating the application is available at:
http://[LeaderGPU_IP_address]:3000
Navigate to this page in your browser, where you’ll be prompted to create a user account:
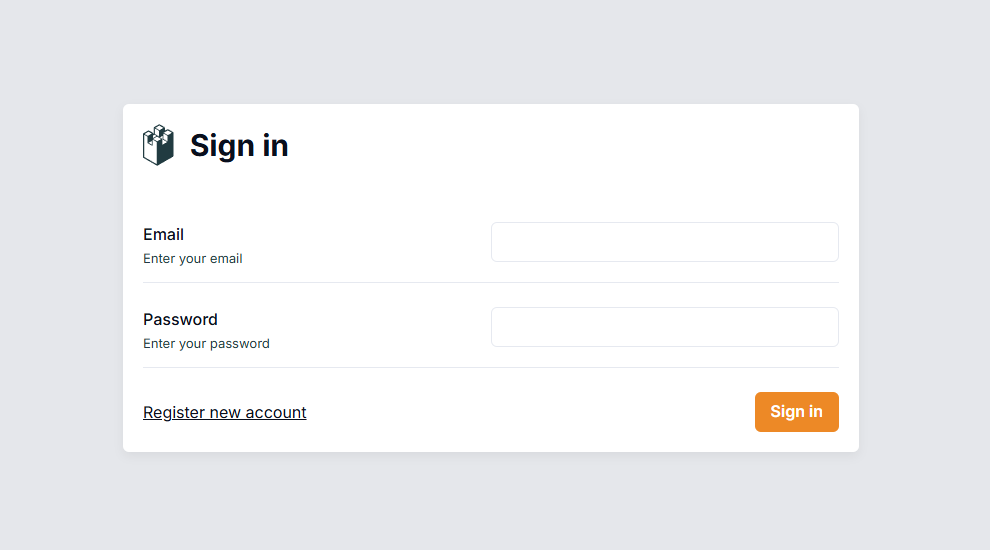
Unlike Langflow, this system has authentication enabled by default. After logging in, you’ll need to configure the system to collect data from your Langflow server.
Langflow integration
LangWatch needs a data source to function. The server listens on port 3000 and uses a RESTful API, which authenticates incoming data through an automatically generated API key.
To enable data transfer, you’ll need to set two variables in the Langflow configuration files: LANGWATCH_ENDPOINT and LANGWATCH_API_KEY. First, establish an SSH connection to your Langflow server (which should be offline during this process).
Navigate to the directory with the sample configuration for Docker:
cd langflow/docker_exampleOpen the configuration file for editing:
nano docker-compose.ymlIn the “environment:” section, add the following variables (without brackets [] or quotation marks):
- LANGWATCH_API_KEY= [YOUR_API_KEY]
- LANGWATCH_ENDPOINT=http://[IP_ADDRESS]:3000
The YML file requires specific formatting. Follow these two key rules:
- Use spaces (2 or 4) for indentation, never tabs.
- Maintain proper hierarchical structure with consistent indentation.
Save the file with Ctrl + O and exit the editor with Ctrl + X, Langflow is now ready to launch:
sudo docker compose upAfter launching, verify that everything works properly. Create a new project or open an existing one, then initiate a dialogue through Playground. Langflow will automatically send data to LangWatch for monitoring, which you can view in the web interface.
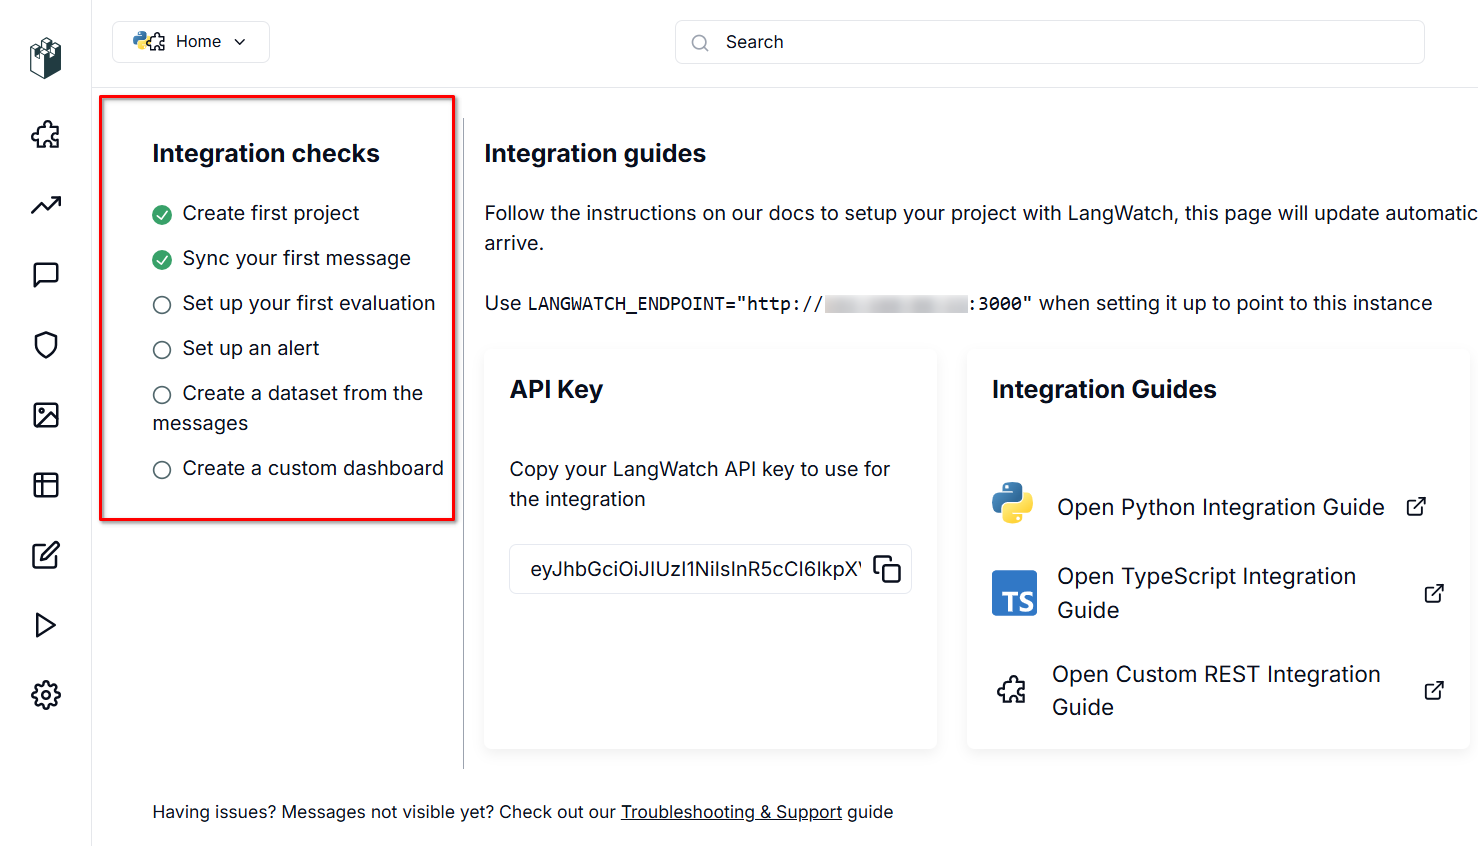
In the integration verification section, a check mark appears on the “Sync your first message” item. This indicates that data from Langflow is successfully flowing into LangWatch, confirming your setup is correct. Let’s examine that appears in the Messages section:
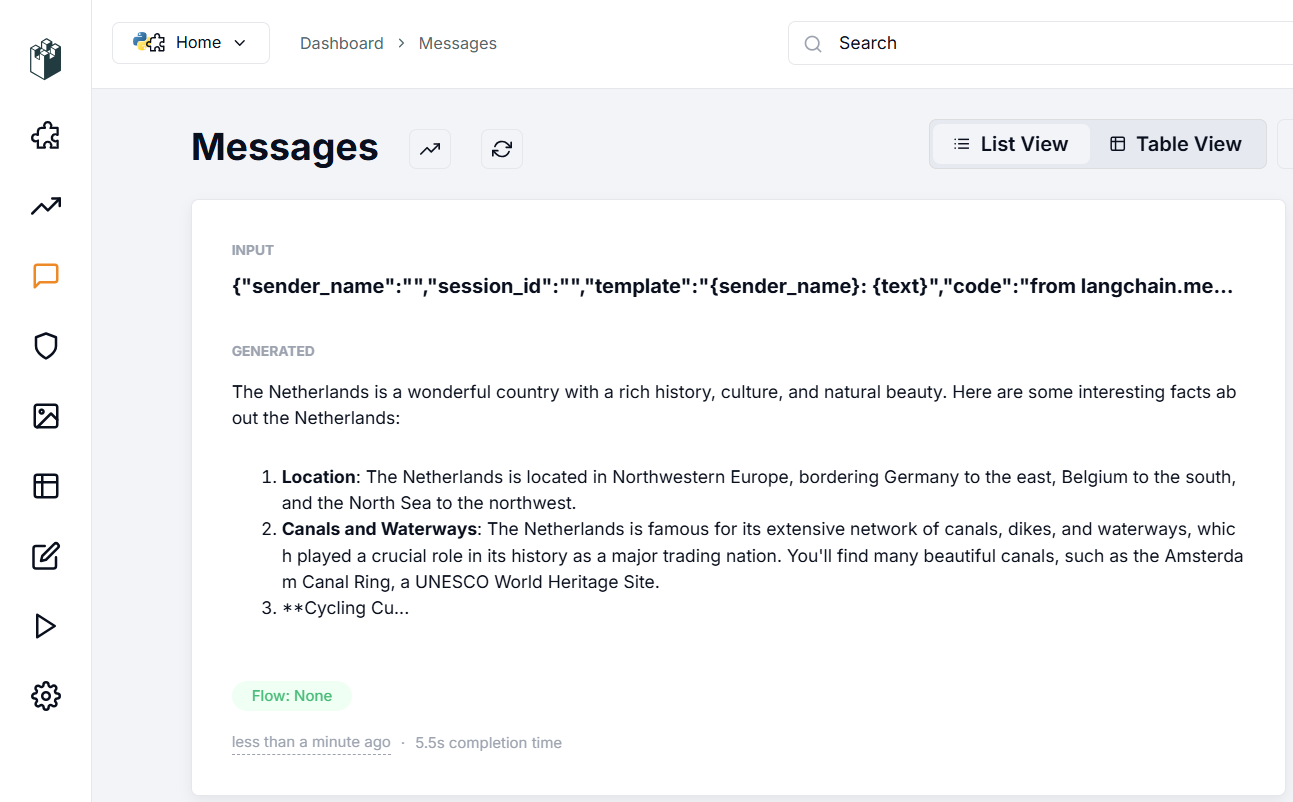
The Messages section displays the data entered into the application, the parameters used for response generation, and the neural network’s response itself. You can evaluate response quality and use various filters to sort through the data, even with hundreds or thousands of messages.
After this initial setup, explore the application’s features systematically. In the Evaluations section, you can set up dialogue verification algorithms for either dialogue moderation or data recognition, such as PII Detection. This feature scans input for sensitive information like social security numbers or phone numbers.
The application offers both local and cloud-based options through providers like Azure or Cloudflare. To use cloud features, you’ll need accounts with these services, along with their endpoint addresses and API keys. Keep in mind that these are third-party providers, so check their service costs directly.
For local options, the application features sophisticated RAG (Retrieval-augmented generation) capabilities. You can measure the accuracy and relevance of RAG-generated content, and use the gathered statistics to optimize the RAG system for more accurate neural network responses.
See also:
Updated: 04.01.2026
Published: 22.01.2025


