


PyTorch for Windows

Before you begin installing PyTorch, you need to install the Python interpreter and Microsoft Visual C++ Redistributable. Open a web-browser and navigate to Python’s download page. Find the latest Python 3 release and click on the link:

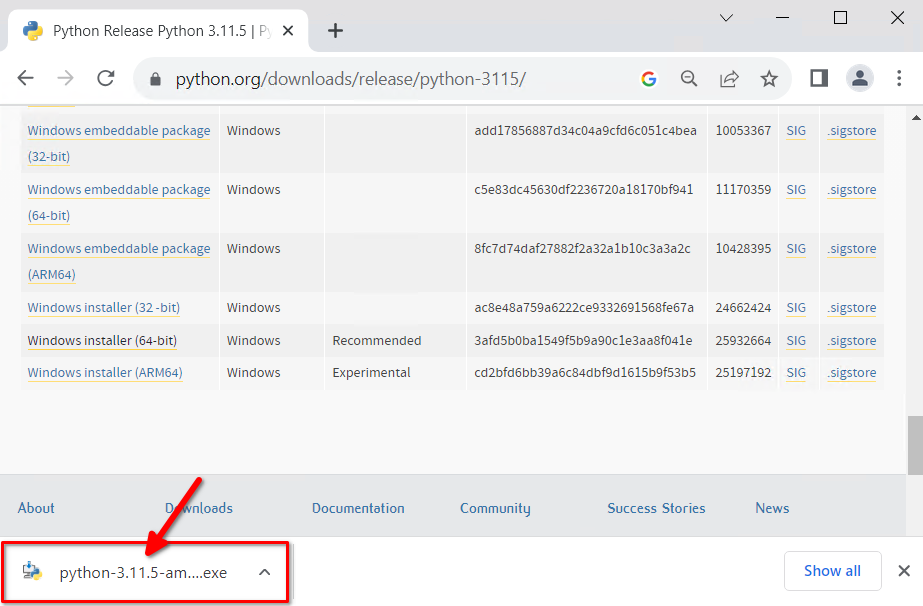
Then scroll down the page and click on Windows Installer (64-bit):

Open the downloaded file to proceed with installation:
Check the box for Add python.exe to PATH and click on Install Now:

Wait a minute for the installation process to complete:

You can optionally Disable path length limit if you plan to use long names that could exceed the MAX_PATH limits:

Install MS Visual C++
Next, download Microsoft Visual C++ Redistributable using this link and click on the installer:

You must tick the I agree to the license terms and conditions box and click the Install button:

After a few seconds, this software will be installed and you can Close the installer:

Now, everything is ready for PyTorch installation. Click the Start button and type cmd on the keyboard. Right-click on Command Prompt and select Run as administrator from the context menu:

Install PyTorch
Execute the following command:
pip install torch torchvisionIf you want to install a specific version of PyTorch, you can specify it during the installation:
pip install torch==1.9.0 torchvision==0.10.0When the installation is complete, let’s check that PyTorch is working properly. Execute the following command to open the Python interpreter:
pythonType these two strings, ending your input with the Enter key:
import torch
print(torch.__version__)
If you get a result like this, it means that PyTorch was installed correctly:
2.0.1+cu117
See also:
Updated: 04.01.2026
Published: 22.01.2025


