


PrivateGPT: AI for documents

Large language models have greatly evolved over the past few years and have become effective tools for many tasks. The only problem with their use is that most products based on these models utilize ready-made services from third-party companies. This usage has the potential to leak sensitive data, so many companies avoid uploading internal documents into public LLM services.
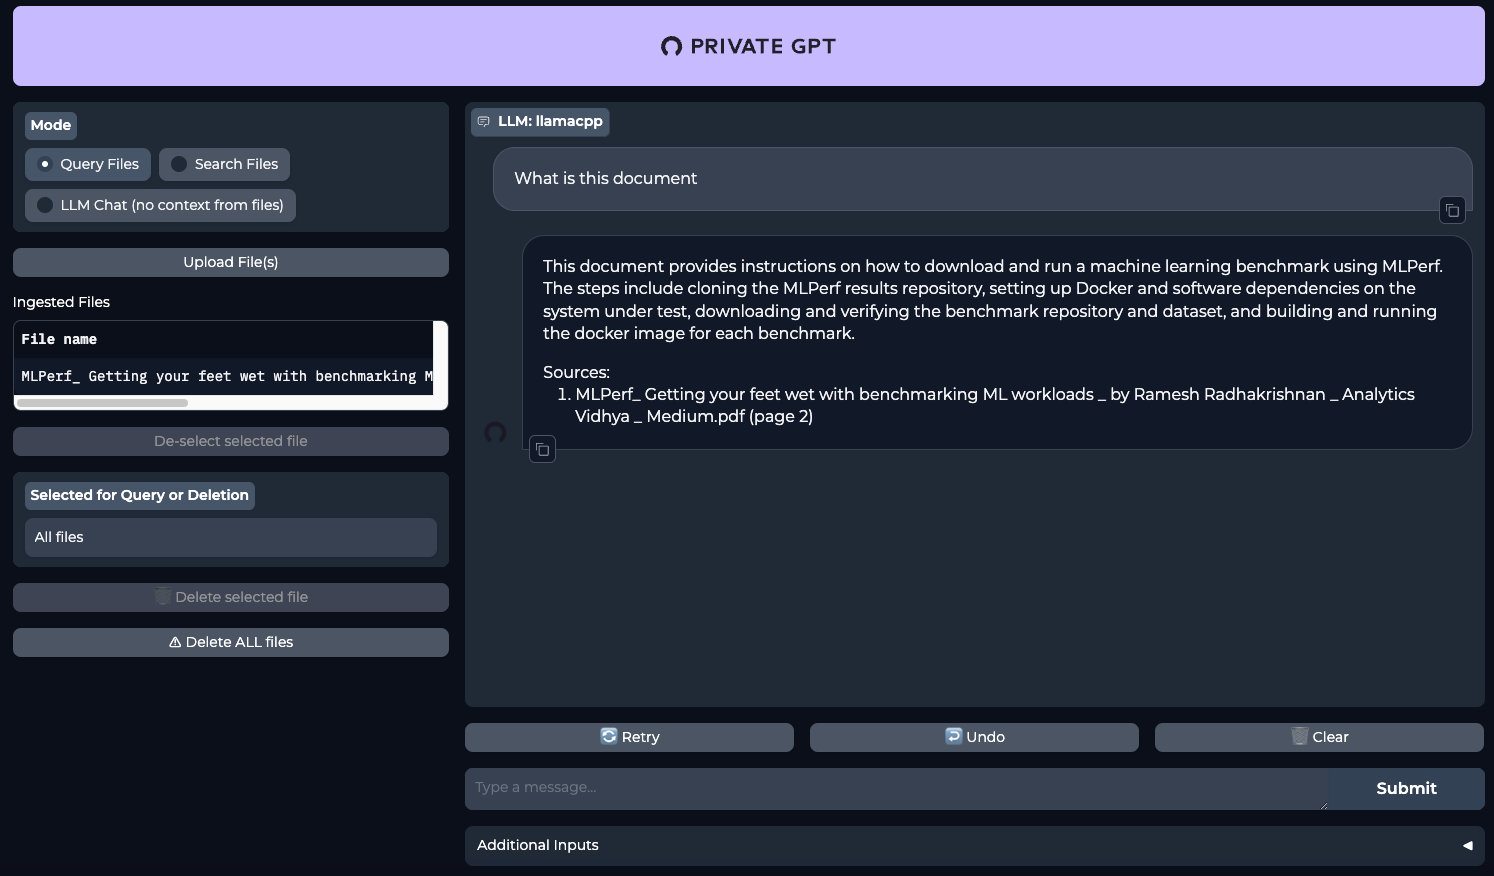
A project like PrivateGPT could be a solution. It is initially designed for completely local use. Its strength is that you can submit various documents as input, and the neural network will read them for you and provide its own comments in response to your requests. For example, you can “feed” large texts to it and ask it to draw some conclusions based on the user’s request. This allows you to significantly save time on proofreading.
This is particularly true for professional fields like medicine. For instance, a doctor can make a diagnosis and request the neural network to confirm it based on the uploaded array of documents. This enables obtaining an additional independent opinion, thereby reducing the number of medical errors. Since requests and documents do not leave the server, one can be assured that the received data will not appear in the public domain.
Today, we’ll show you how to deploy a neural network on dedicated LeaderGPU servers with the Ubuntu 22.04 LTS operating system in just 20 minutes.
System prepare
Begin by updating your packages to the latest version:
sudo apt update && sudo apt -y upgradeNow, install additional packages, libraries, and the NVIDIA® graphics driver. All of these will be needed to successfully build the software and run it on the GPU:
sudo apt -y install build-essential git gcc cmake make openssl libssl-dev libbz2-dev libreadline-dev libsqlite3-dev zlib1g-dev libncursesw5-dev libgdbm-dev libc6-dev zlib1g-dev libsqlite3-dev tk-dev libssl-dev openssl libffi-dev lzma liblzma-dev libbz2-devCUDA® 12.4 install
In addition to the driver, you need to install the NVIDIA® CUDA® toolkit. These instructions were tested on CUDA® 12.4, but everything should also work on CUDA® 12.2. However, keep in mind that you’ll need to indicate the version you are installed when specifying the path to the executable files.
Run the following command sequentially:
wget https://developer.download.nvidia.com/compute/cuda/repos/ubuntu2204/x86_64/cuda-ubuntu2204.pinsudo mv cuda-ubuntu2204.pin /etc/apt/preferences.d/cuda-repository-pin-600wget https://developer.download.nvidia.com/compute/cuda/12.4.0/local_installers/cuda-repo-ubuntu2204-12-4-local_12.4.0-550.54.14-1_amd64.debsudo dpkg -i cuda-repo-ubuntu2204-12-4-local_12.4.0-550.54.14-1_amd64.debsudo cp /var/cuda-repo-ubuntu2204-12-4-local/cuda-*-keyring.gpg /usr/share/keyrings/sudo apt-get update && sudo apt-get -y install cuda-toolkit-12-4More information on installing CUDA® can be found in our Knowledge Base. Now, reboot the server:
sudo shutdown -r nowPyEnv install
It’s time to install a simple Python version control utility called PyEnv. This is a significantly improved fork of the similar project for Ruby (rbenv), configured to work with Python. It can be installed with one-line script:
curl https://pyenv.run | bashNow, you need to add some variables to the end of the script file, which is executed at login. The first three lines are responsible for the correct operation of PyEnv, and the fourth is needed for Poetry, which will be installed later:
nano .bashrcexport PYENV_ROOT="$HOME/.pyenv"
[[ -d $PYENV_ROOT/bin ]] && export PATH="$PYENV_ROOT/bin:$PATH"
eval "$(pyenv init -)"
export PATH="/home/usergpu/.local/bin:$PATH"Apply the settings you’ve made:
source .bashrcInstall Python version 3.11:
pyenv install 3.11Create a virtual environment for Python 3.11:
pyenv local 3.11Poetry install
The next piece of the puzzle is Poetry. This is an analogue of pip for managing dependencies in Python projects. The author of Poetry was tired of constantly dealing with different configuration methods, such as setup.cfg, requirements.txt, MANIFEST.ini, and others. This became the driver for the development of a new tool that uses a pyproject.toml file, which stores all the basic information about a project, not just a list of dependencies.
Install Poetry:
curl -sSL https://install.python-poetry.org | python3 -PrivateGPT install
Now that everything is ready, you can clone the PrivateGPT repository:
git clone https://github.com/imartinez/privateGPTGo to the downloaded repository:
cd privateGPTRun dependency installation using Poetry while enabling additional components:
- ui - adds a Gradio based management web interface to the backend application;
- embedding-huggingface - enables support for embedding models downloaded from HuggingFace;
- llms-llama-cpp - adds support for direct inference of models in GGUF format;
- vector-stores-qdrant - adds the qdrant vector database.
poetry install --extras "ui embeddings-huggingface llms-llama-cpp vector-stores-qdrant"Set your Hugging Face access token. For additional information please read this article:
export HF_TOKEN="YOUR_HUGGING_FACE_ACCESS_TOKEN"Now, run the installation script, which will automatically download the model and weights (Meta Llama 3.1 8B Instruct by default):
poetry run python scripts/setupThe following command recompile llms-llama-cpp separately to enable NVIDIA® CUDA® support, in order to offload workloads to the GPU:
CUDACXX=/usr/local/cuda-12/bin/nvcc CMAKE_ARGS="-DGGML_CUDA=on -DCMAKE_CUDA_ARCHITECTURES=native" FORCE_CMAKE=1 pip install llama-cpp-python --no-cache-dir --force-reinstall --upgradeIf you get an error like nvcc fatal : Unsupported gpu architecture 'compute_' just specify the exact architecture of the GPU you are using. For example: DCMAKE_CUDA_ARCHITECTURES=86 for NVIDIA® RTX™ 3090.
The final step before beginning is to install support for asynchronous calls (async/await):
pip install asyncioPrivateGPT run
Run PrivateGPT using a single command:
make runOpen your web browser and go to the page http://[LeaderGPU_server_IP_address]:8001
See also:
Updated: 04.01.2026
Published: 20.01.2025


